Integration Testing with Spring Boot

Integration Testing with Spring Boot
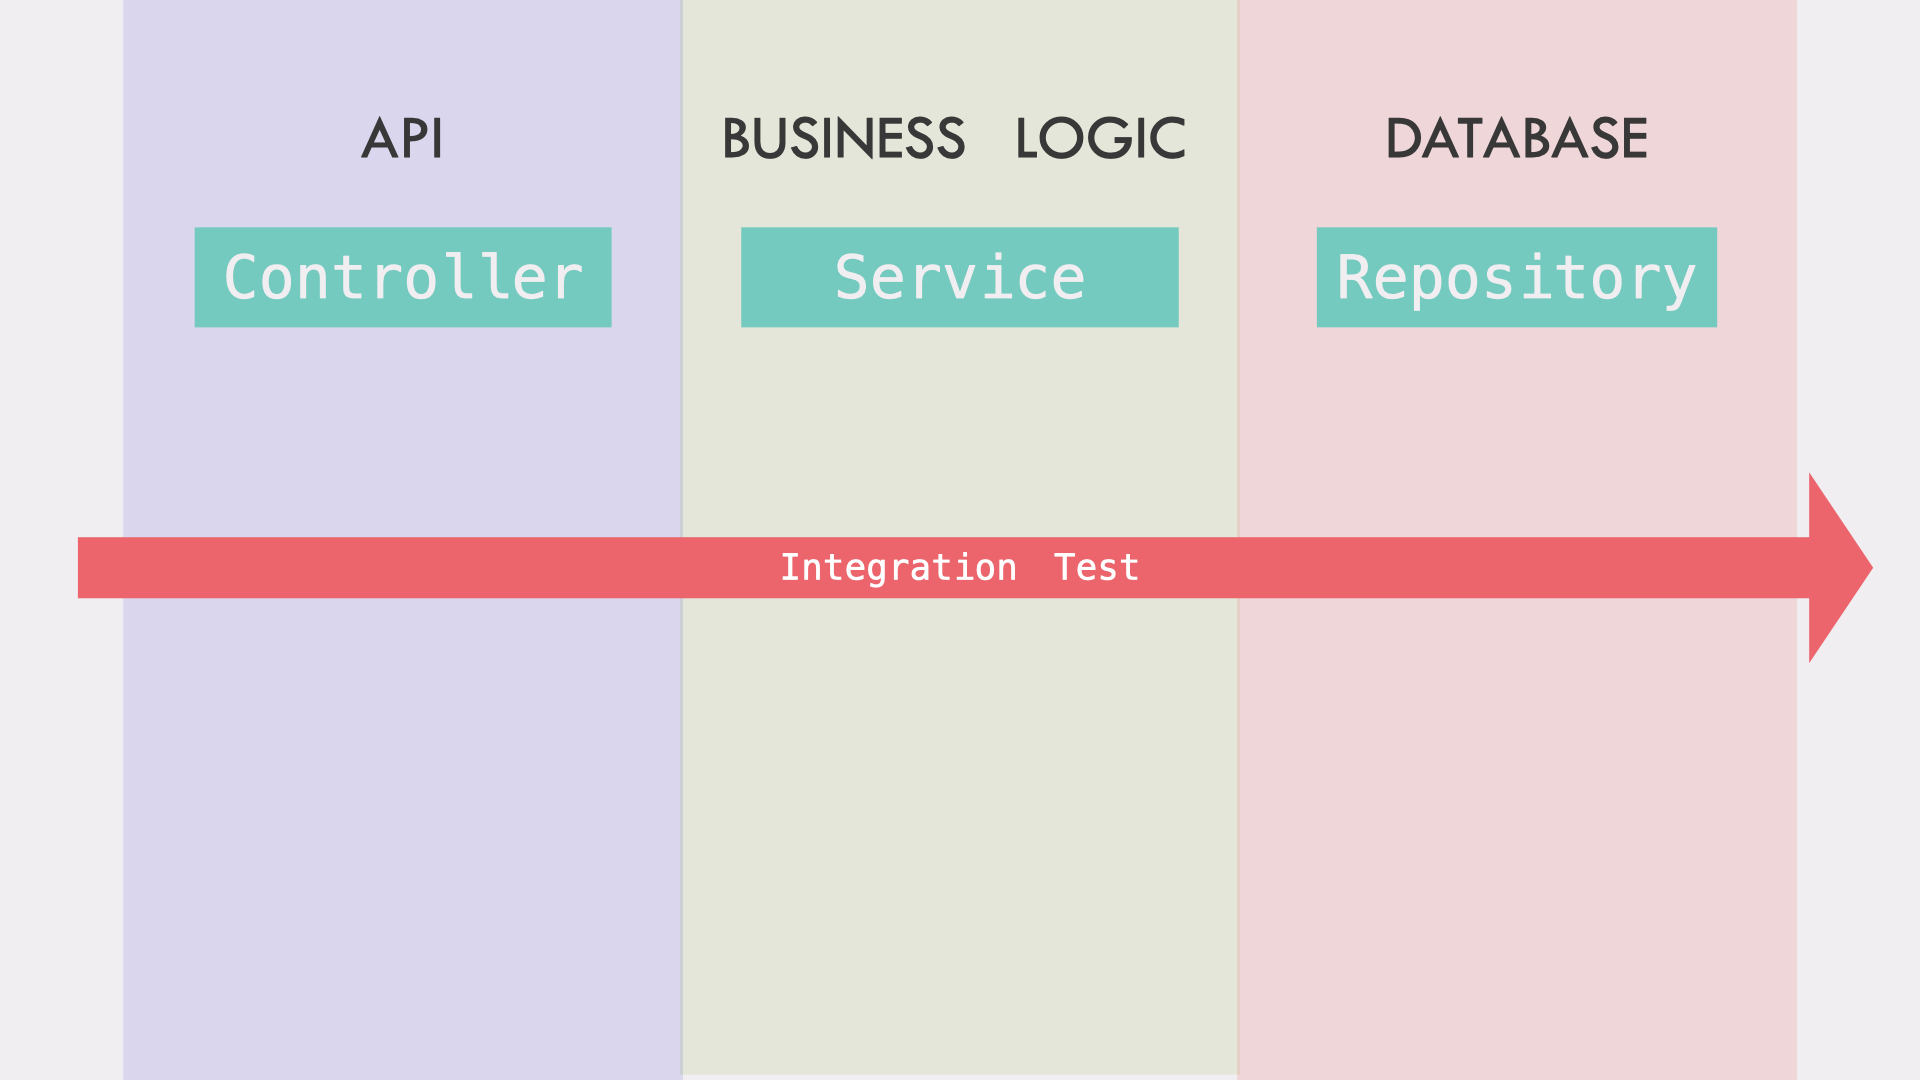
Now that I have implemented a part of the API across all 3 layers, it’s time to write an integration test.

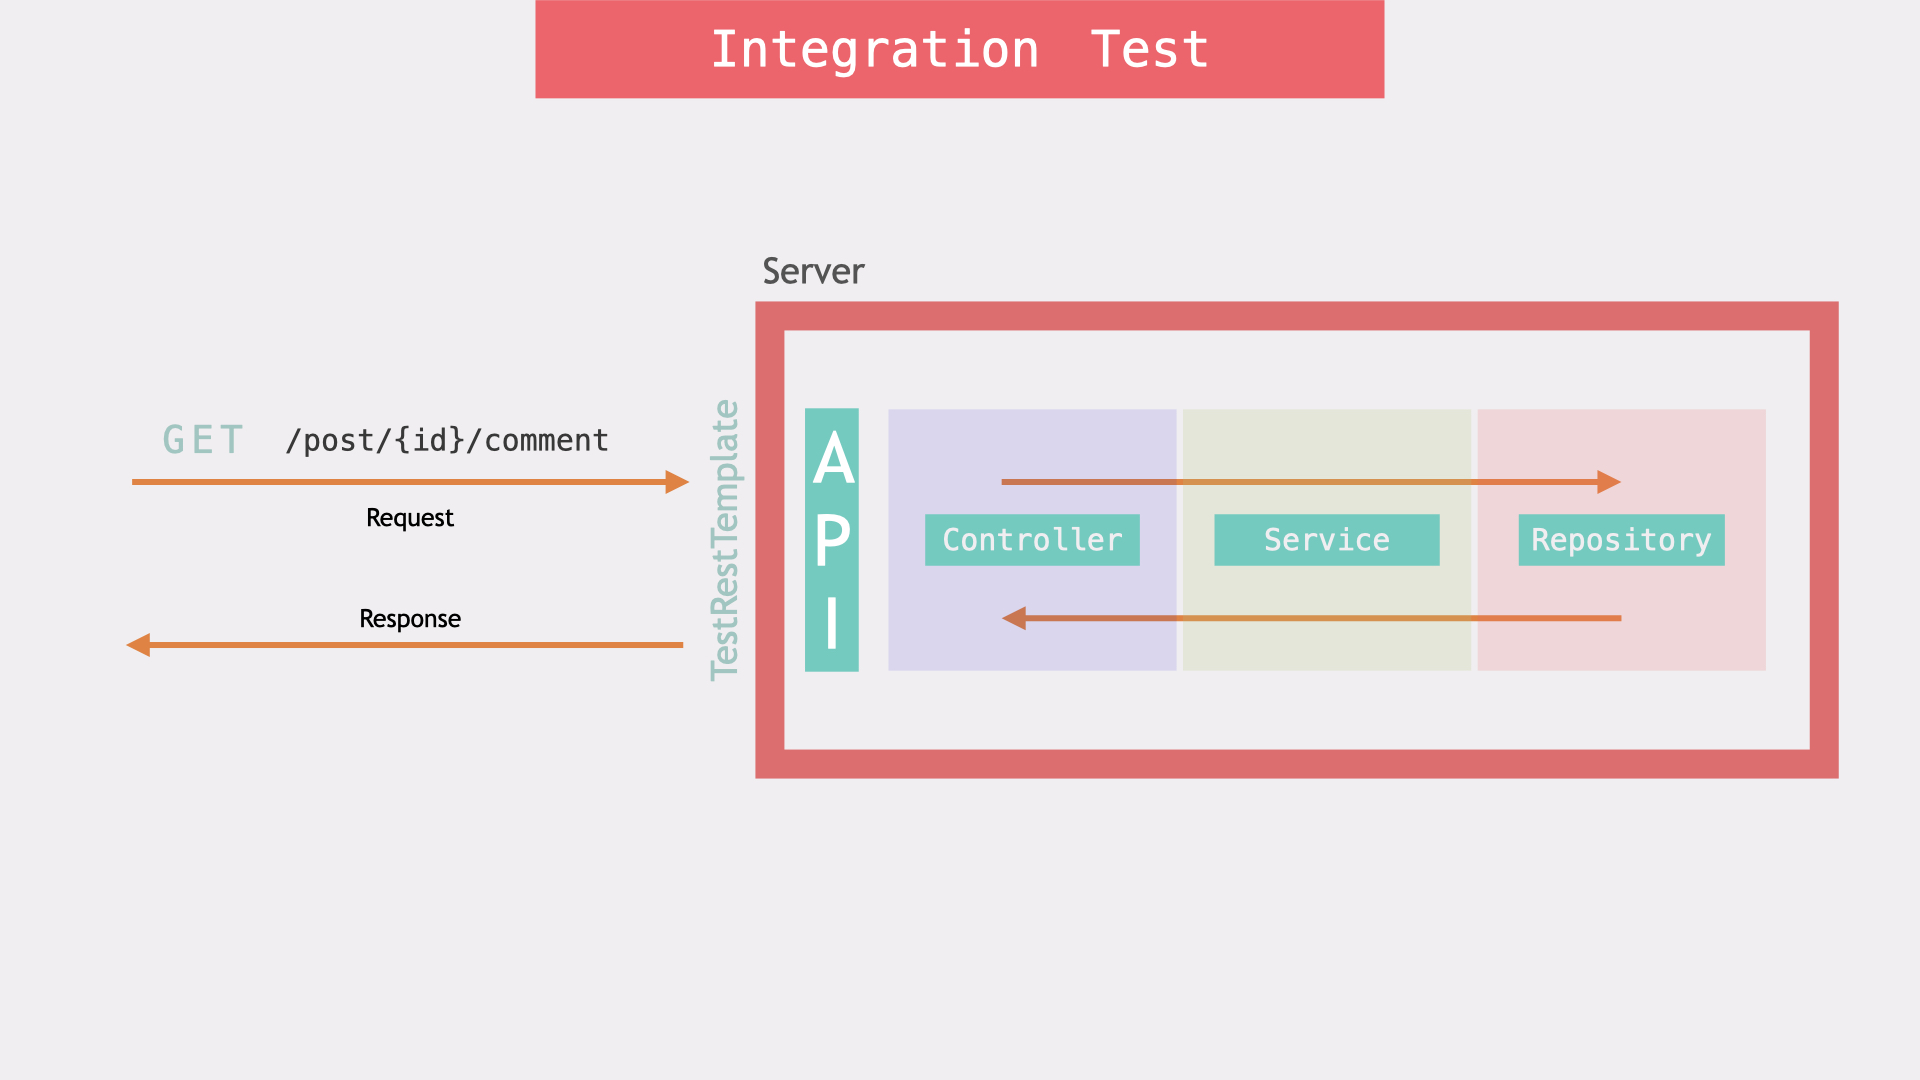
For the integration test, I want to send a get request to the API and it should go through all three layers and come back with a response, and this response will be asserted according to the expectations of the API.
Two approaches to Integration testing with Spring
- Start a server and send the request using the
TestRestTemplate, provided by Spring.

- Use
MockMVCto handle the HTTP request and pass it on to the Controller, the code will be executed exactly the same way as if it was processing a real HTTP request, but without the cost of having to start a server.

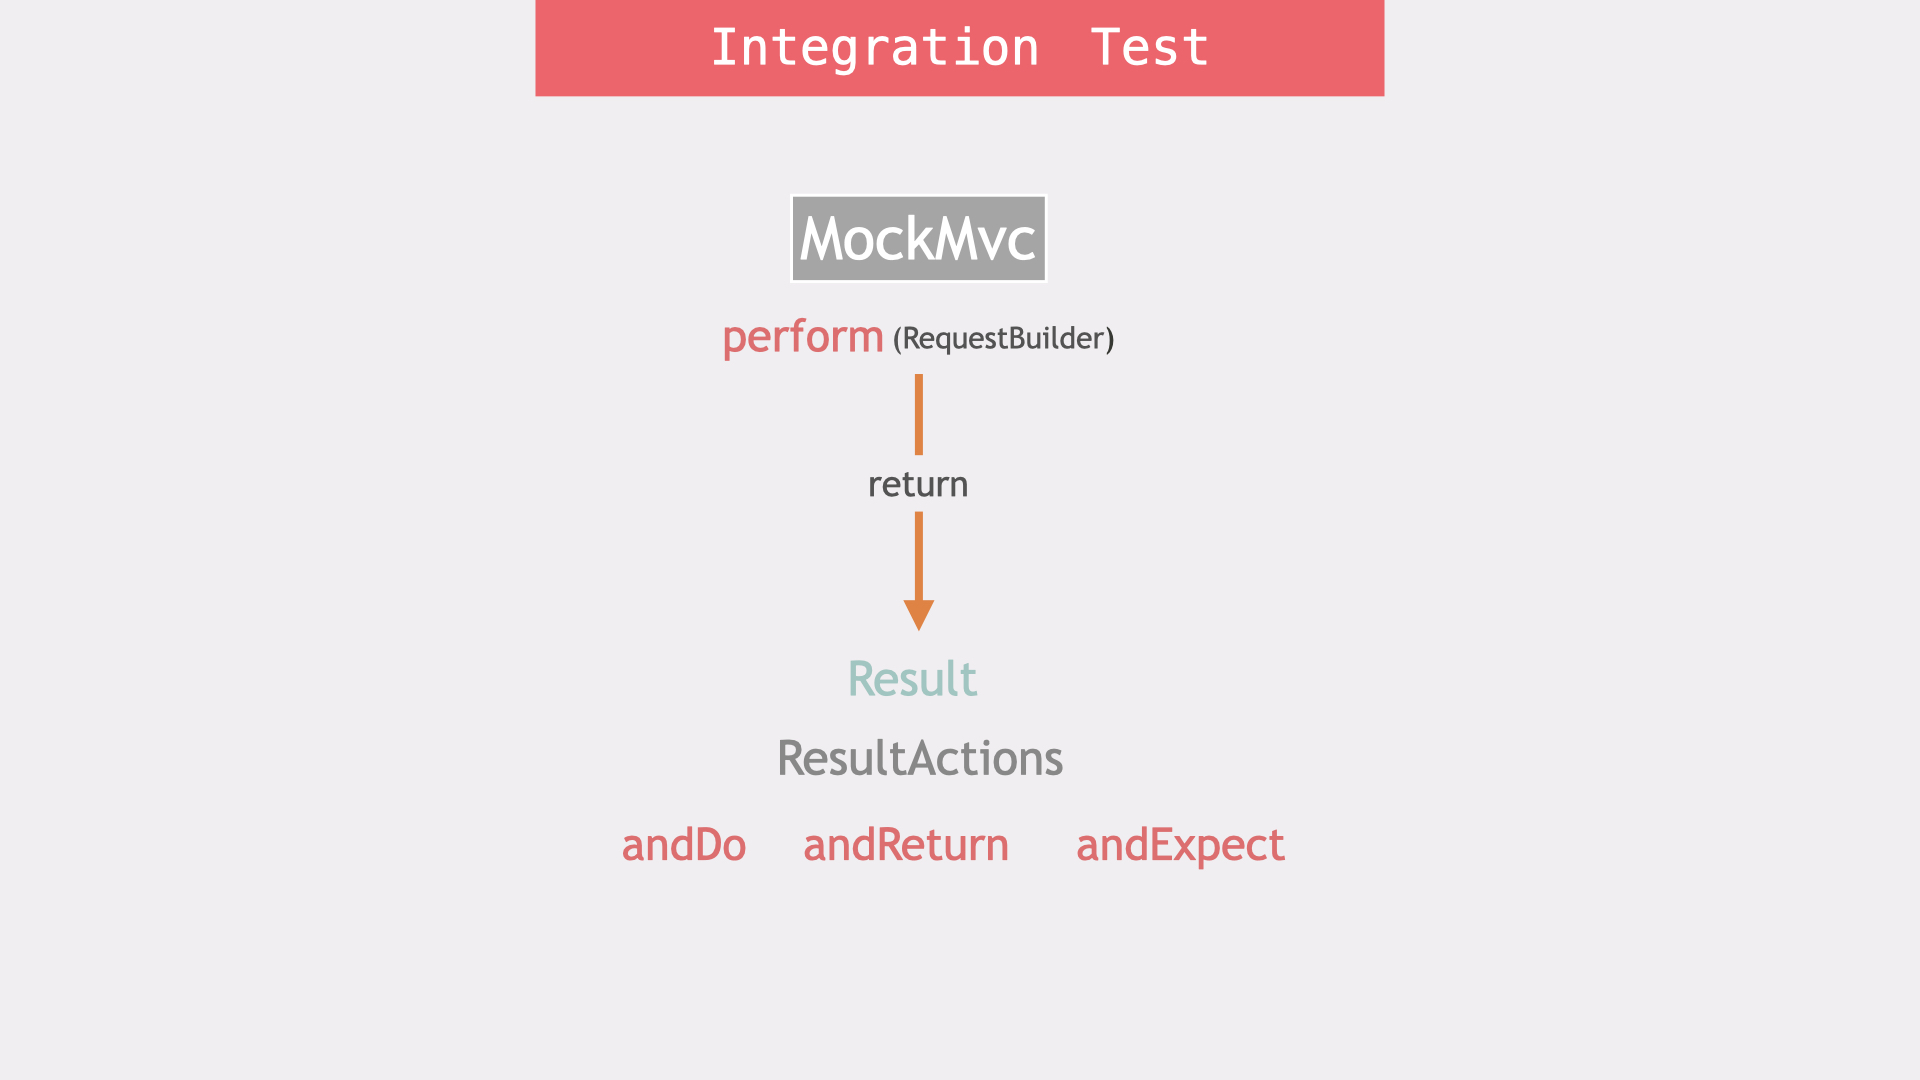
So I’m going to use the second approach in my integration tests. For this, I need the support of the MockMvc class.
Using the MockMvc I can perform GET, POST, AND DELETE operations.
The perform method will return a result as a ResultAction on which I can perform operations such as andDo, andReturn and andExpect.
Spring Boot testing annotations
The Test class should be annotated with the following annotations.
Example
@RunWith(SpringRunner.class)
@SpringBootTest
@AutoConfigureMockMvc
public class CommentApiTest {


}
Let’s see why we need them.
@RunWith(SpringRunner.class)
This will bring Spring’s testing support to our JUnit test, such as loading the application context and auto wiring the beans.
This annotation is not required when using JUnit5
@SpringBootTest
This annotation tells the SpringRunner to start the application as a Spring Boot application.
By default, it does not start a server, instead, it loads a web ApplicationContext and provides a mock web environment. You can use the webEnvironment attribute if you want to set other options such as RANDOM_PORT, DEFINED_PORT, or NONE.
Read more at https://docs.spring.io/spring-boot/docs/current/reference/htmlsingle/#boot-features-testing-spring-boot-applications
Difference between @SpringBootTest and @WebMvcTest
@SpringBootTest will load the complete application and autowire all the beans, which makes it a bit slow.
Use @WebMvcTest if you only want to test the Controller layer and happy to mock all other dependencies, tests will run much faster.
@AutoConfigureMockMvc
This annotation auto-configures the MockMvc.
Spring Boot MockMvc Example
Following is the source code example of a very simple test using MockMvc.
package com.comment;

import static org.springframework.test.web.servlet.request.MockMvcRequestBuilders.*;

import static org.springframework.test.web.servlet.result.MockMvcResultMatchers.*;
import static org.hamcrest.Matchers.*;
import javax.inject.Inject;

import org.junit.Before;
import org.junit.Test;
import org.junit.runner.RunWith;
import org.springframework.boot.test.autoconfigure.web.servlet.AutoConfigureMockMvc;
import org.springframework.boot.test.context.SpringBootTest;
import org.springframework.http.MediaType;
import org.springframework.test.context.jdbc.Sql;
import org.springframework.test.context.jdbc.Sql.ExecutionPhase;
import org.springframework.test.context.jdbc.SqlGroup;
import org.springframework.test.context.junit4.SpringRunner;
import org.springframework.test.web.servlet.MockMvc;

@RunWith(SpringRunner.class)
@SpringBootTest
@AutoConfigureMockMvc
public class CommentApiTest {

  @Inject
  private MockMvc mvc;

  @Before
  public void setUp() throws Exception {
  }

  @Test
  public void testCommentApiGetCommentsByPostId_statusOk() throws Exception {

    mvc.perform(get("/posts/1/comments")).andExpect(status().isOk());

  }


}

