Spring Boot How To Connect To MySQL Database

So far we’ve been using the in-memory database H2.
This is great during development and maintenance for integration testing and also, for POC purposes.
But this in-memory database is always created fresh whenever you restart the application!
You lose all the data that you had saved earlier.
That would be a catastrophe in a production environment.
So that’s why you would want to connect this application to an external database.
Create a schema in MySQL
First, you should install MySQL server.
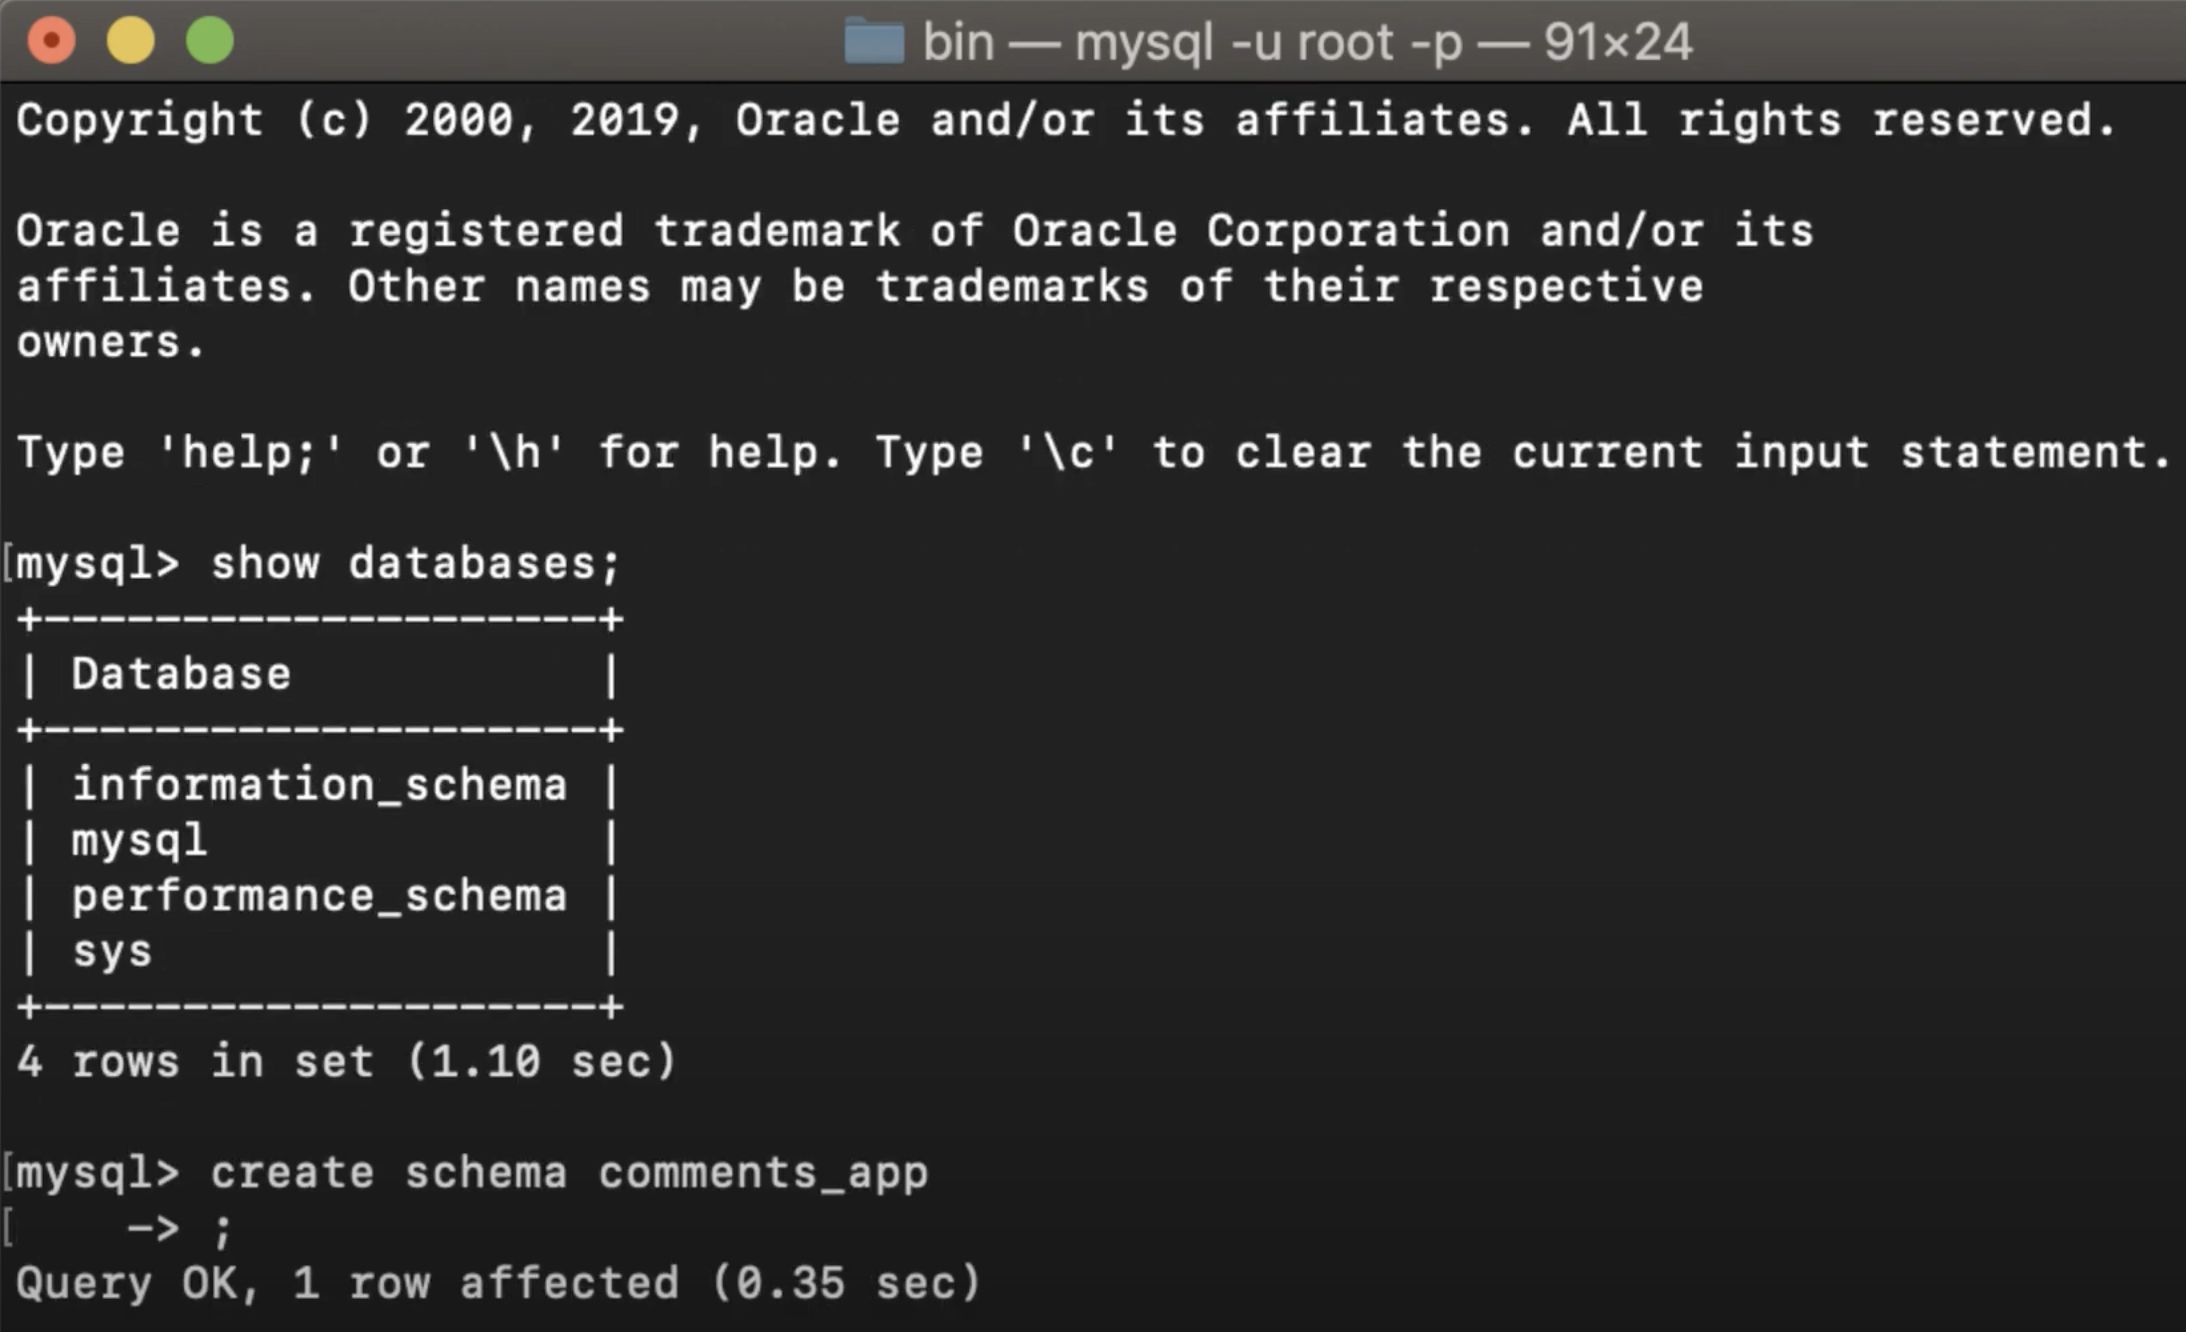
Start the server and log in.
Create a new schema for the comment application to connect to, Let’s call it comments_app.

Now on to the application.
How To Connect Spring Boot With Mysql
You have to do only 2 things in order to connect this Spring Boot application to MySQL server instead of H2.
-
The first is to add the MySQL connector dependency to the project.
-
Next step is to let Spring Boot know that it should use MySQL instead of the embedded database via an application properties file.
Add The Mysql Connector Dependency To The Spring Boot Project
Add the following line to the build.gradle file.
runtimeOnly 'mysql:mysql-connector-java'
Check out the build file @ https://github.com/JavaCodeHouse/comments-application/blob/main/build.gradle
Configure MySQL connection in Spring Boot application
This could be done via an application.properties file placed in the src/resources directory.
An application.properties file is one of many ways that Spring Boot lets you externalize configuration.
A Spring Boot application loads properties from an application.properties file placed in the classpath.
This is where you should provide the database connection URL.
In addition to the connection URL, I will also add the spring.jpa.hibernate.ddl-auto and set it to create for the first run and then change it to update.
Setting it to create will create the tables for the entities in the database, which makes it easier to get started.
After that, we only need to update the schema if there are any changes to the entities.
Then you should provide the username and password to the database as well.
application.properties file
spring.datasource.url=jdbc:mysql://localhost:3306/comments_app?serverTimezone=Australia/Melbourne
spring.jpa.hibernate.ddl-auto=create
spring.datasource.username=jch
spring.datasource.password=123
That’s all we have to do.
Now run the application and check the database, the table comment should be created in the database.
Now that we have moved from h2 to MySQL, our integration tests are not working anymore.
As you would guess they fail because there’s no database connection.
How To Use External Database With H2 For Testing Purposes
All you have to do is to override the application.properties that we just added.
For that you should add another application.properties file inside of src/integration_test/resources.
This is just a blank file, You don’t have to have anything in here and this file will override the one we added earlier.
You can find out more about the precedence of external configurations in the documentation.
Please find the complete source code @ https://github.com/JavaCodeHouse/comments-application

