Spring Initializr Tutorial

In this post, let’s look at the Spring Initializr and how to use it.

What is Spring Initializr?
Spring initializr is a website or web-based tool that can be used to set up a Spring Boot project.
Of course, you can set up a Spring Boot project without using the Spring initializr, but the advantage of using the Spring initializr is that it speeds up the process and does most of the groundwork for you.
All you have to do is to go to start.spring.io and add the spring boot starter dependencies that you want, (eg: web, JPA and H2) and generate the project!
Spring initialzr will do the following:
- Creates the build file with all the required dependencies, plugins and also takes care of the versions.
- Creates the project structure or the folder structure for your project.
Now you can start implementing, and yes you can do any customizations to the build file or the project setup as much as you like.
How to use the Spring Initializr to set up a Spring Boot Project
-
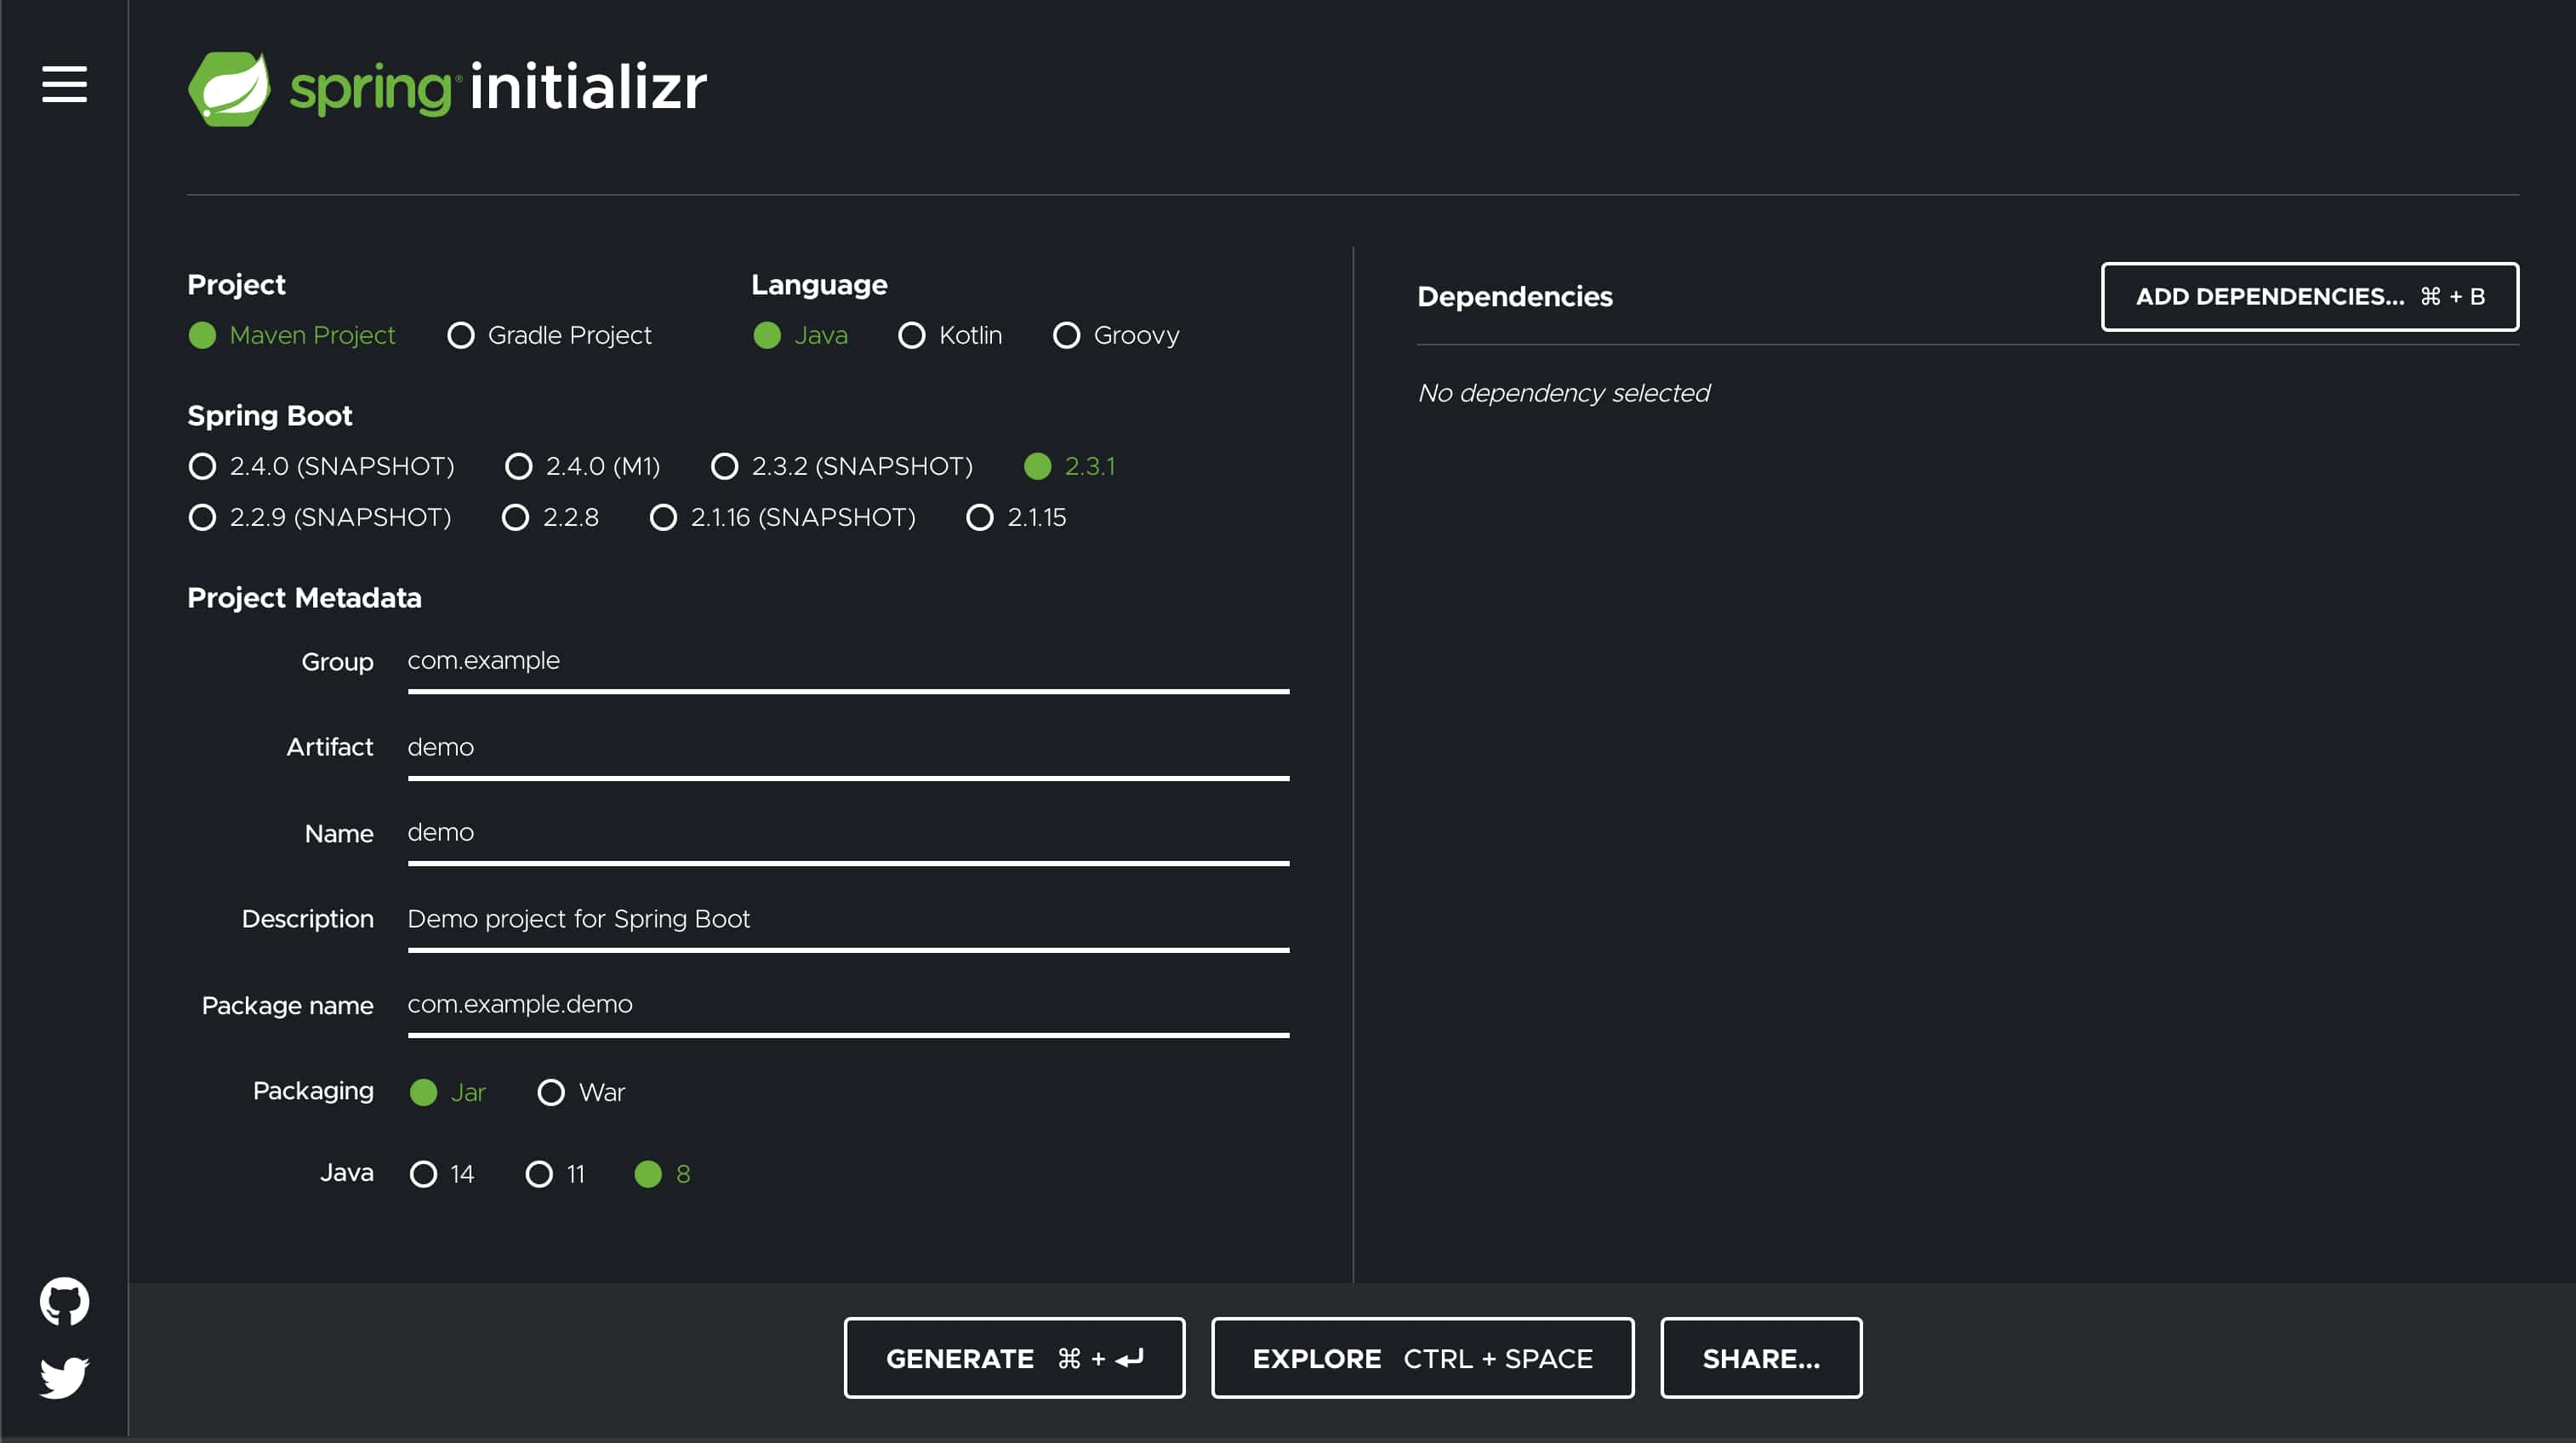
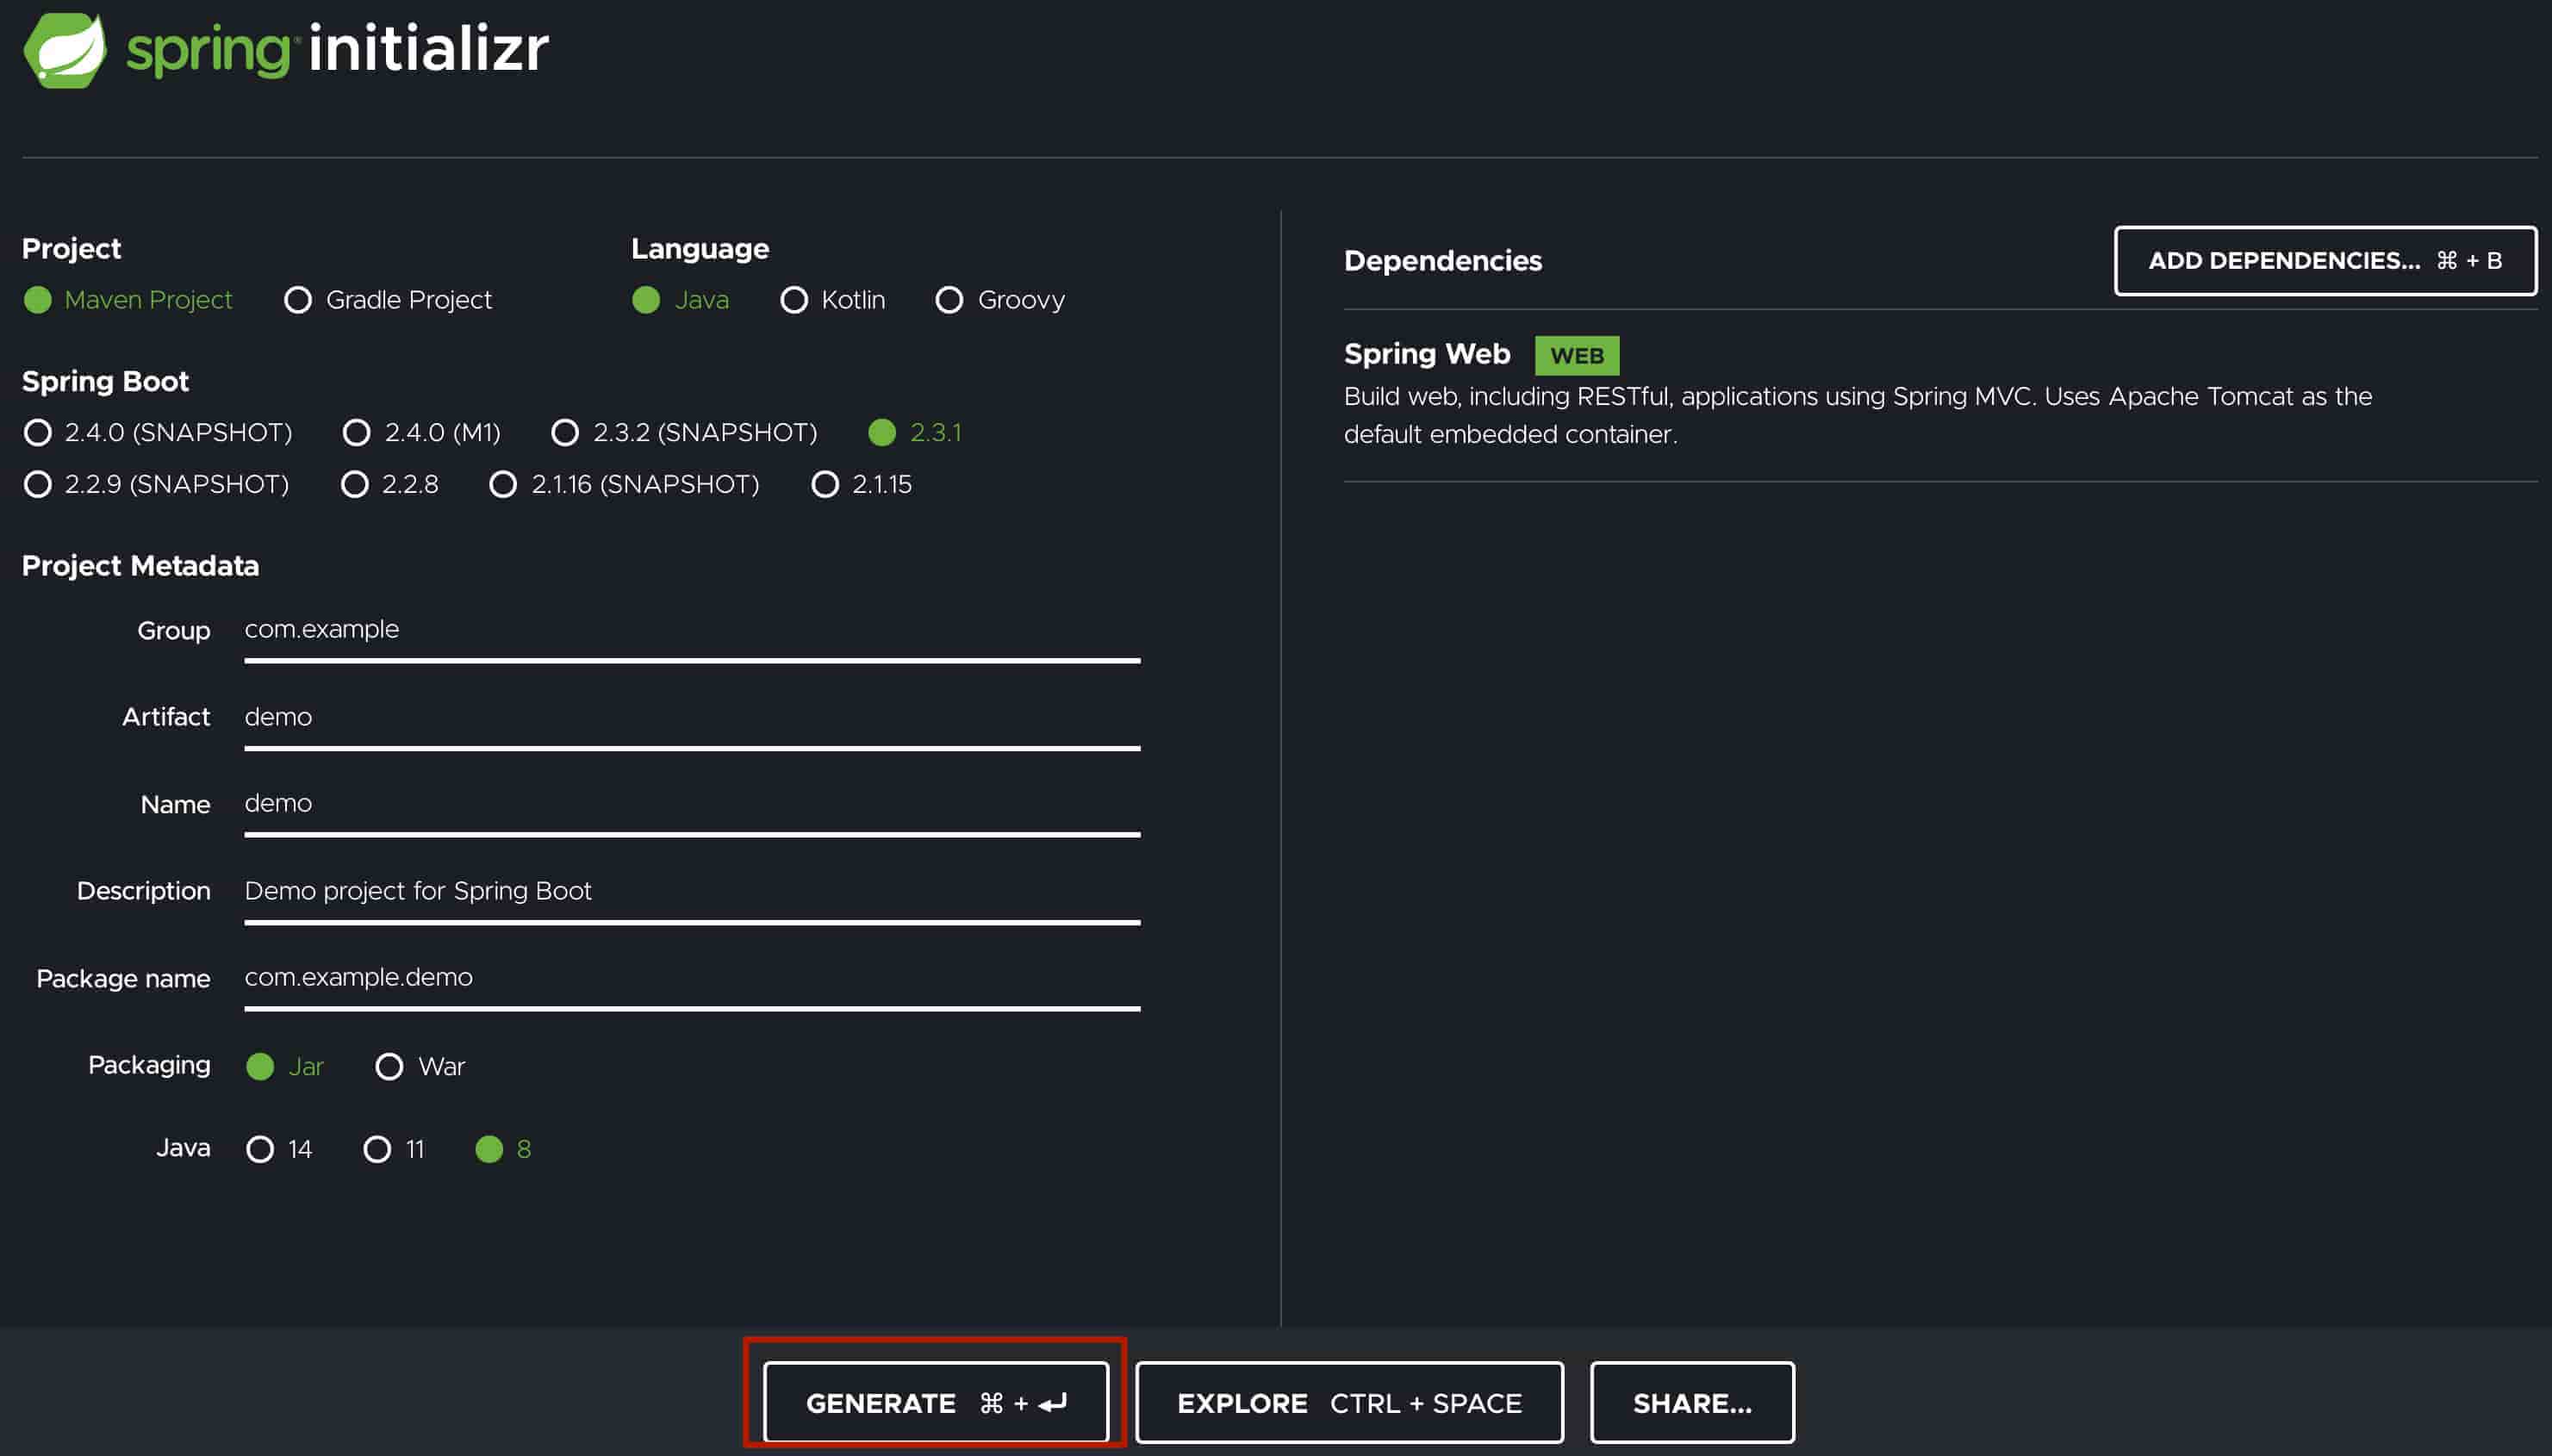
Go to the Spring Initializr website. Here’s what it looks like at the moment. They change the look of the site quite often

-
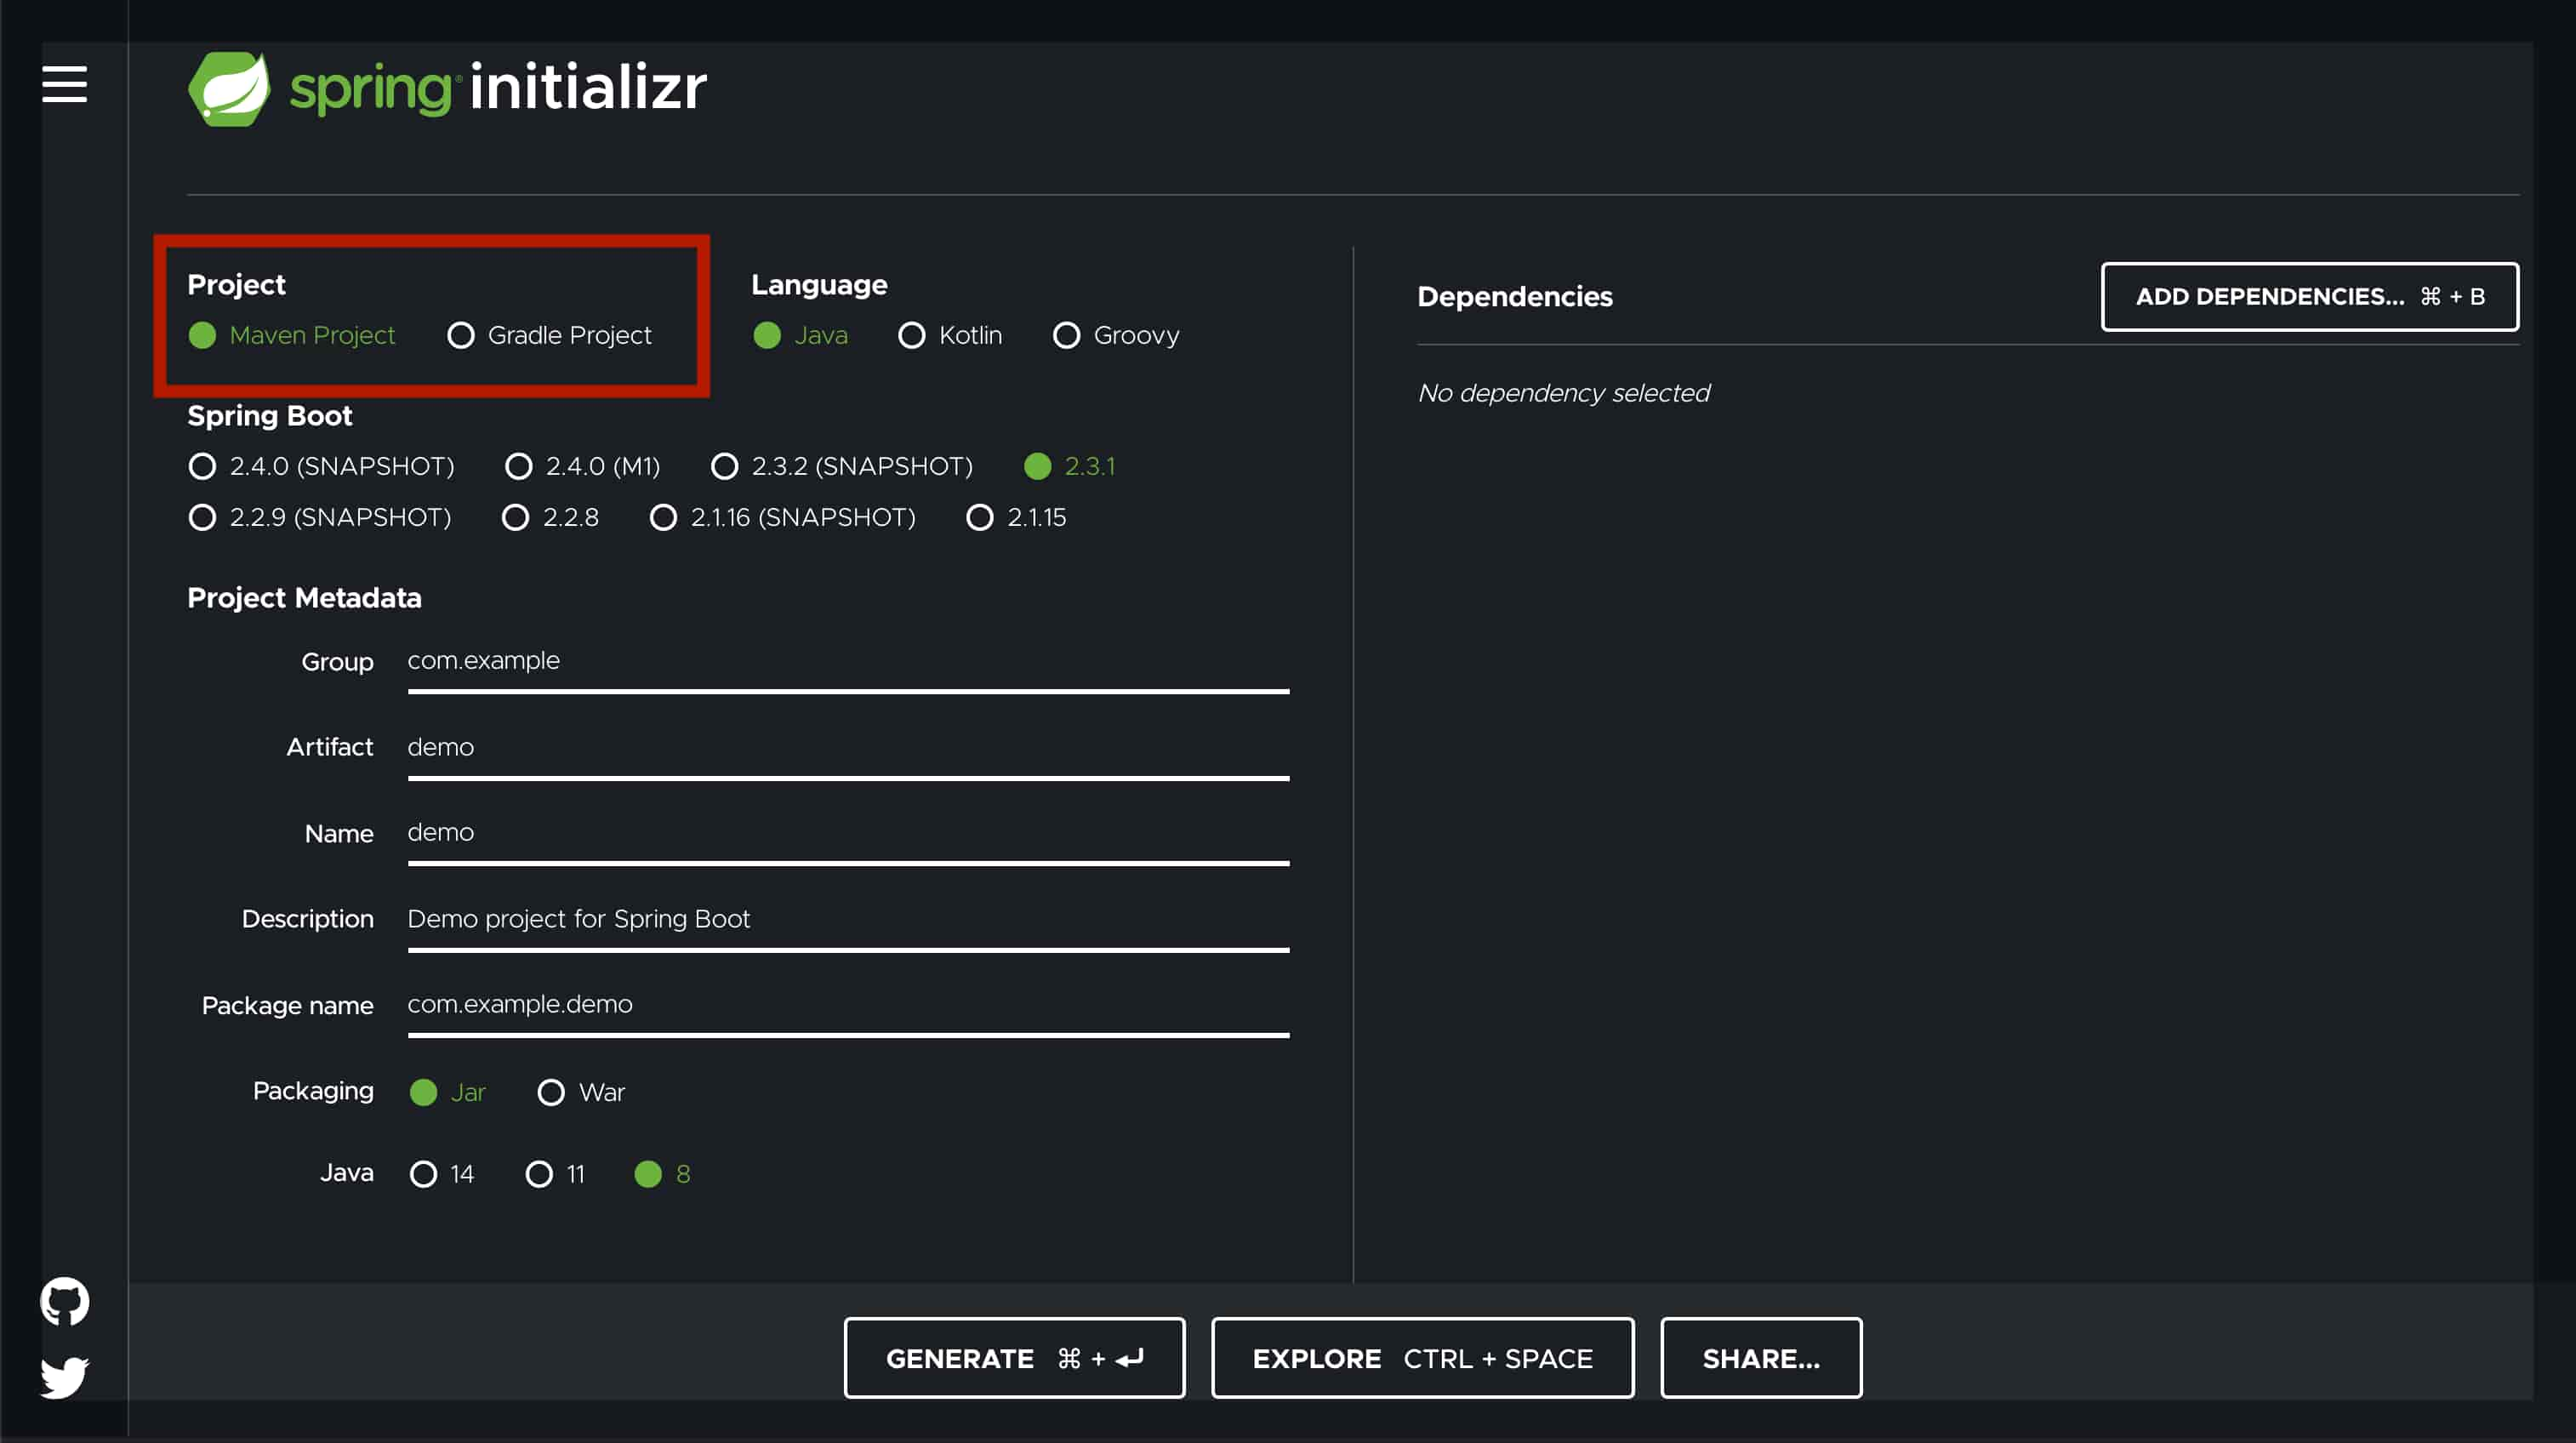
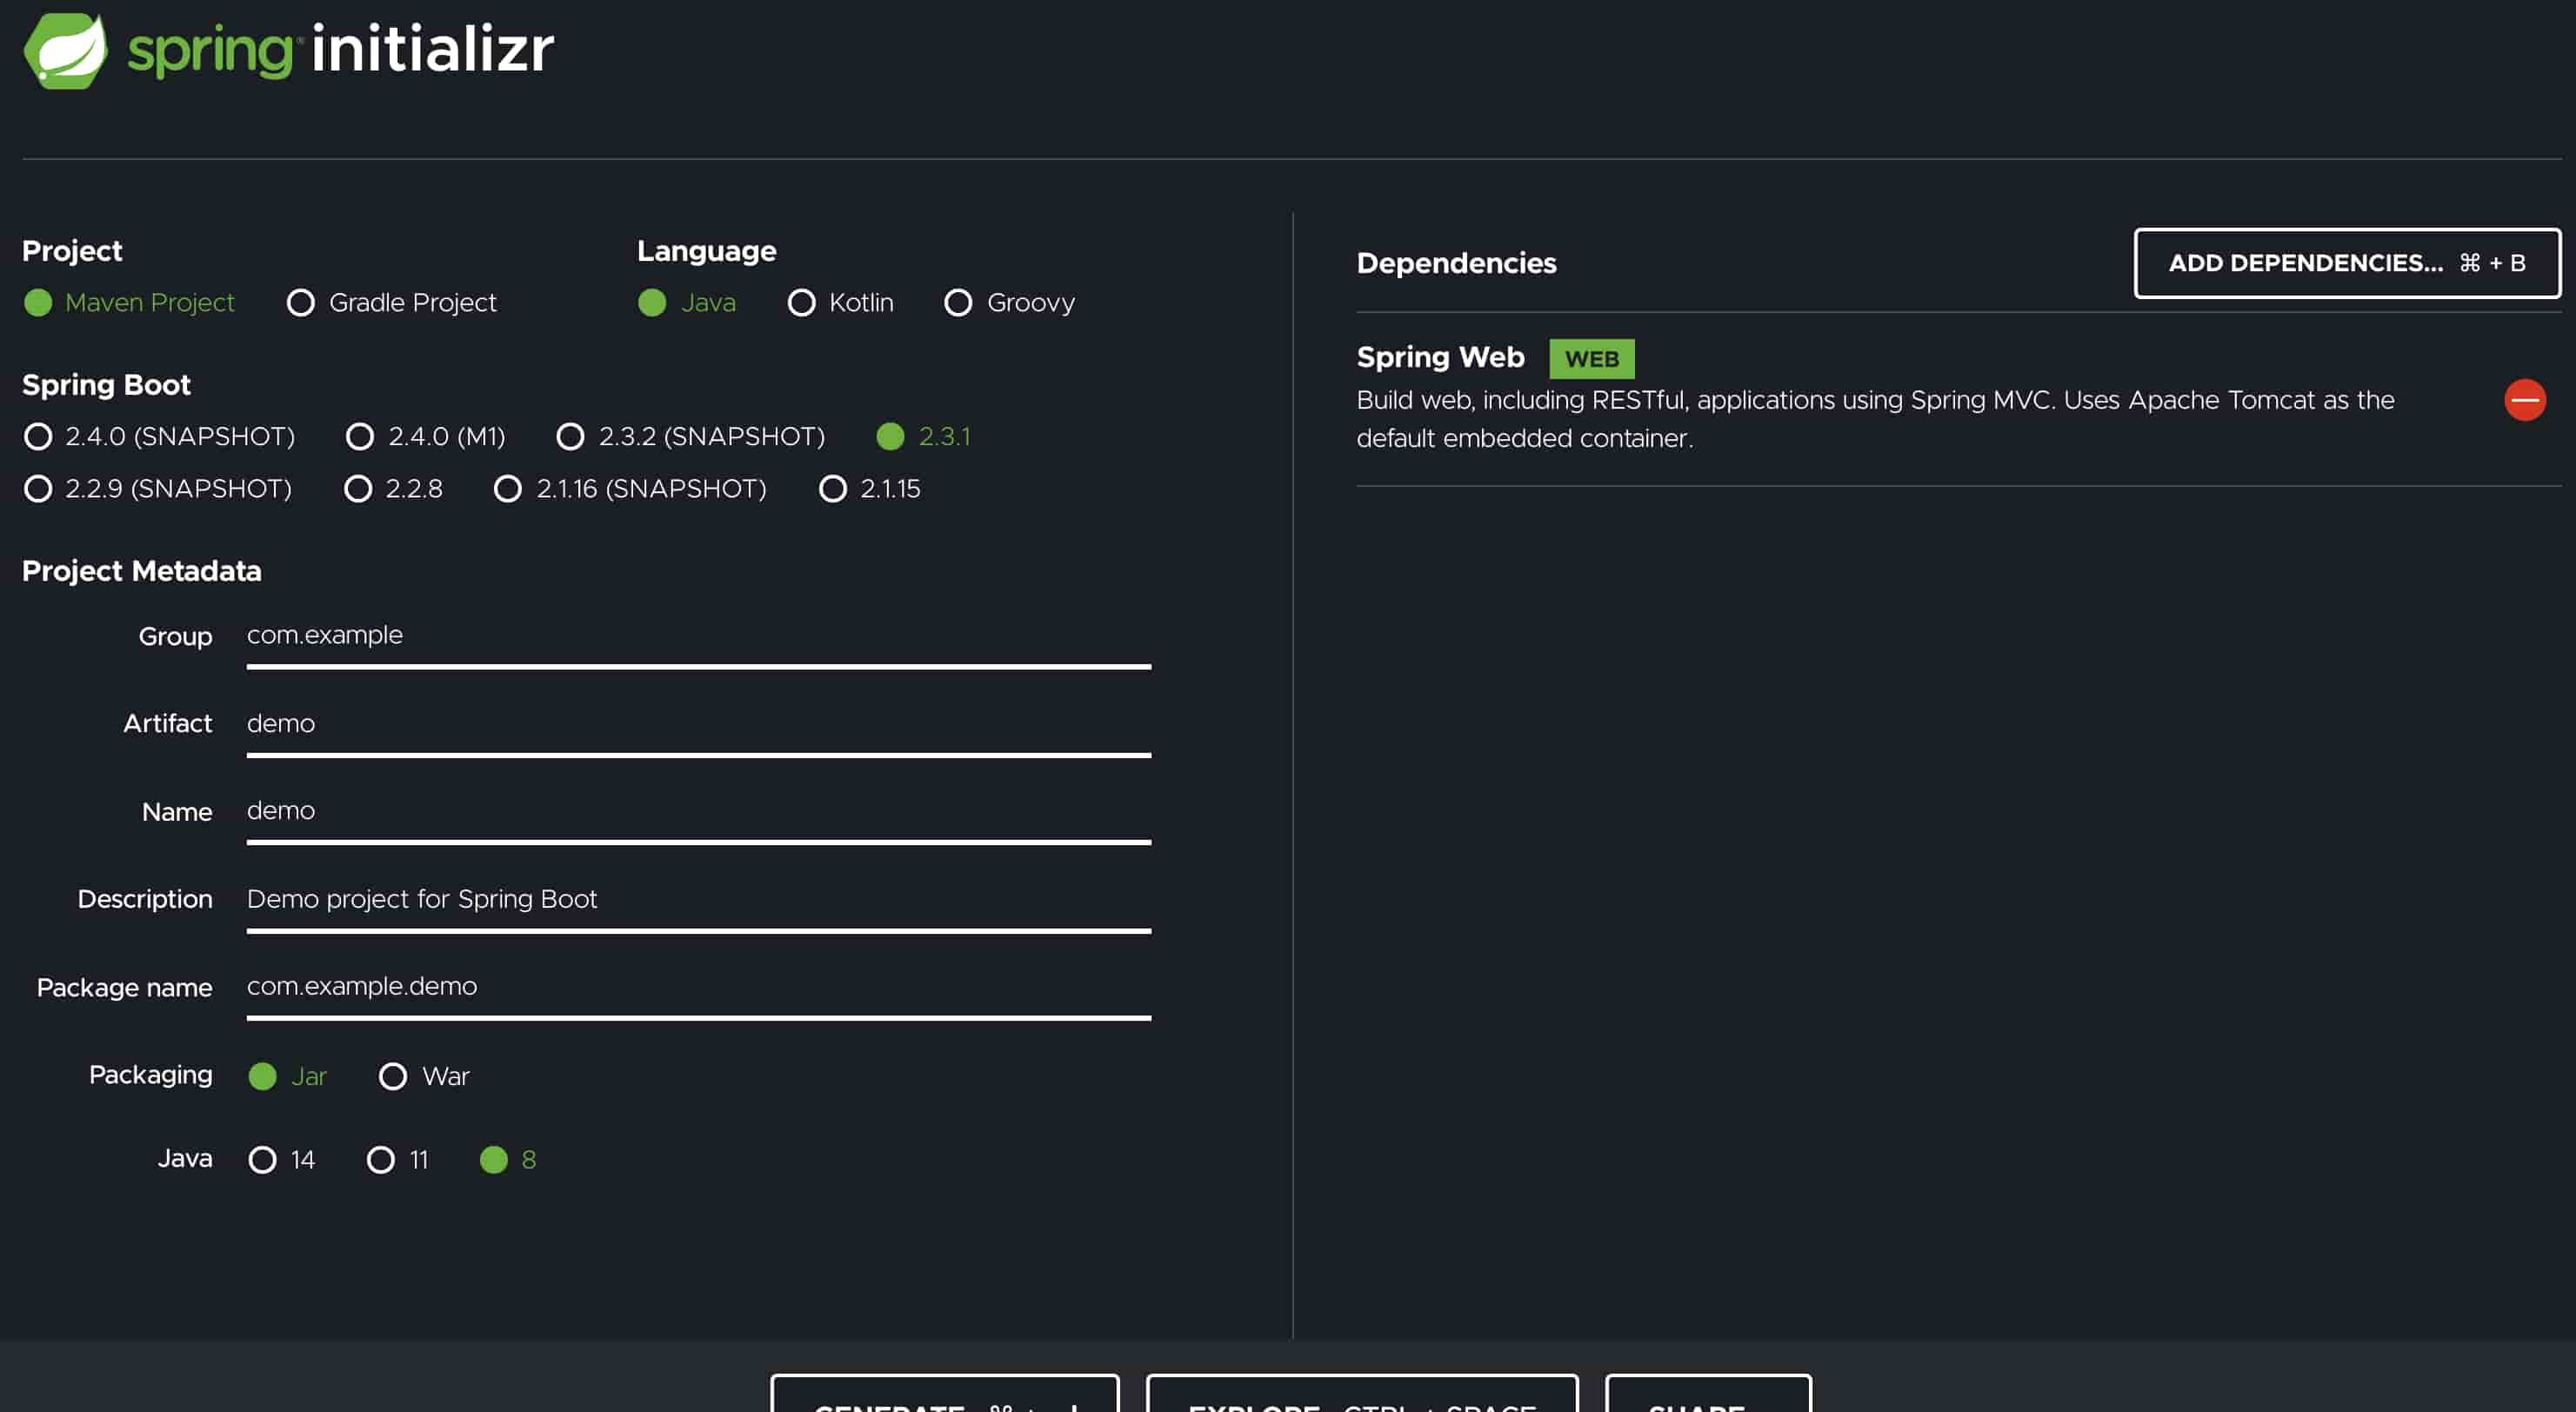
Select the build tool you want to use. Maven is selected by default.
-
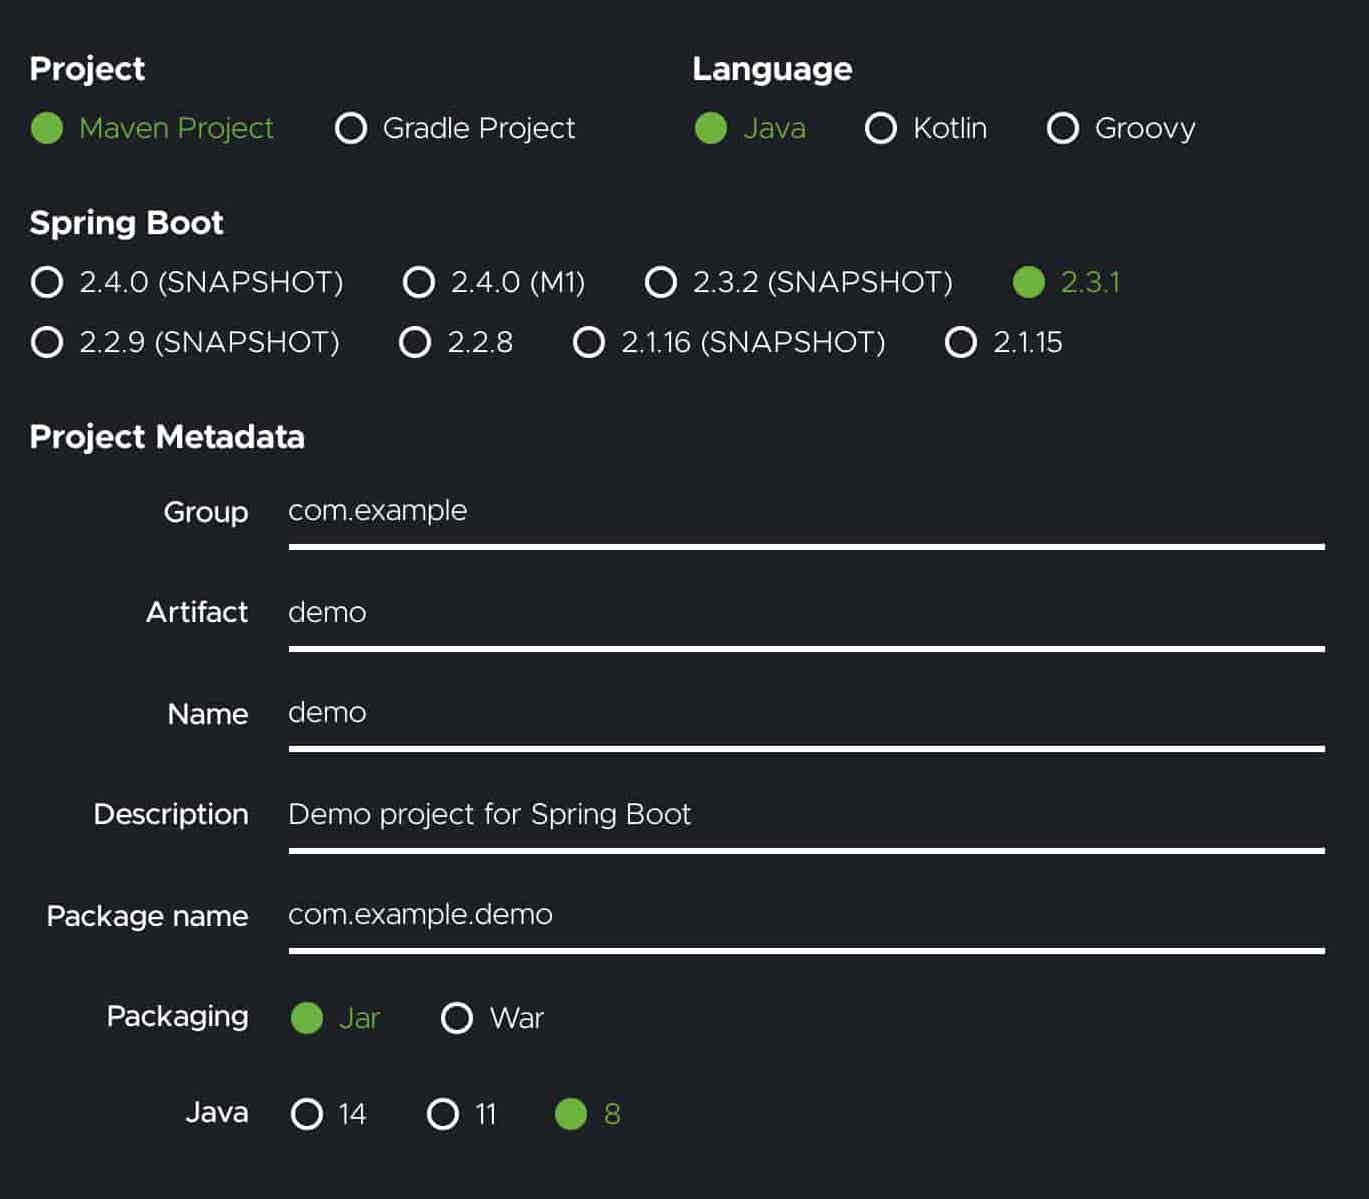
Then you can select the programming language you use (Java is selected by default), the Spring Boot version you want to use (the latest release version is selected by default), the project metadata (you can keep these as it is and change later), the packaging of the project (i.e. either jar of war), and a specific Java version if you want (Java 8 is selected by default).
-
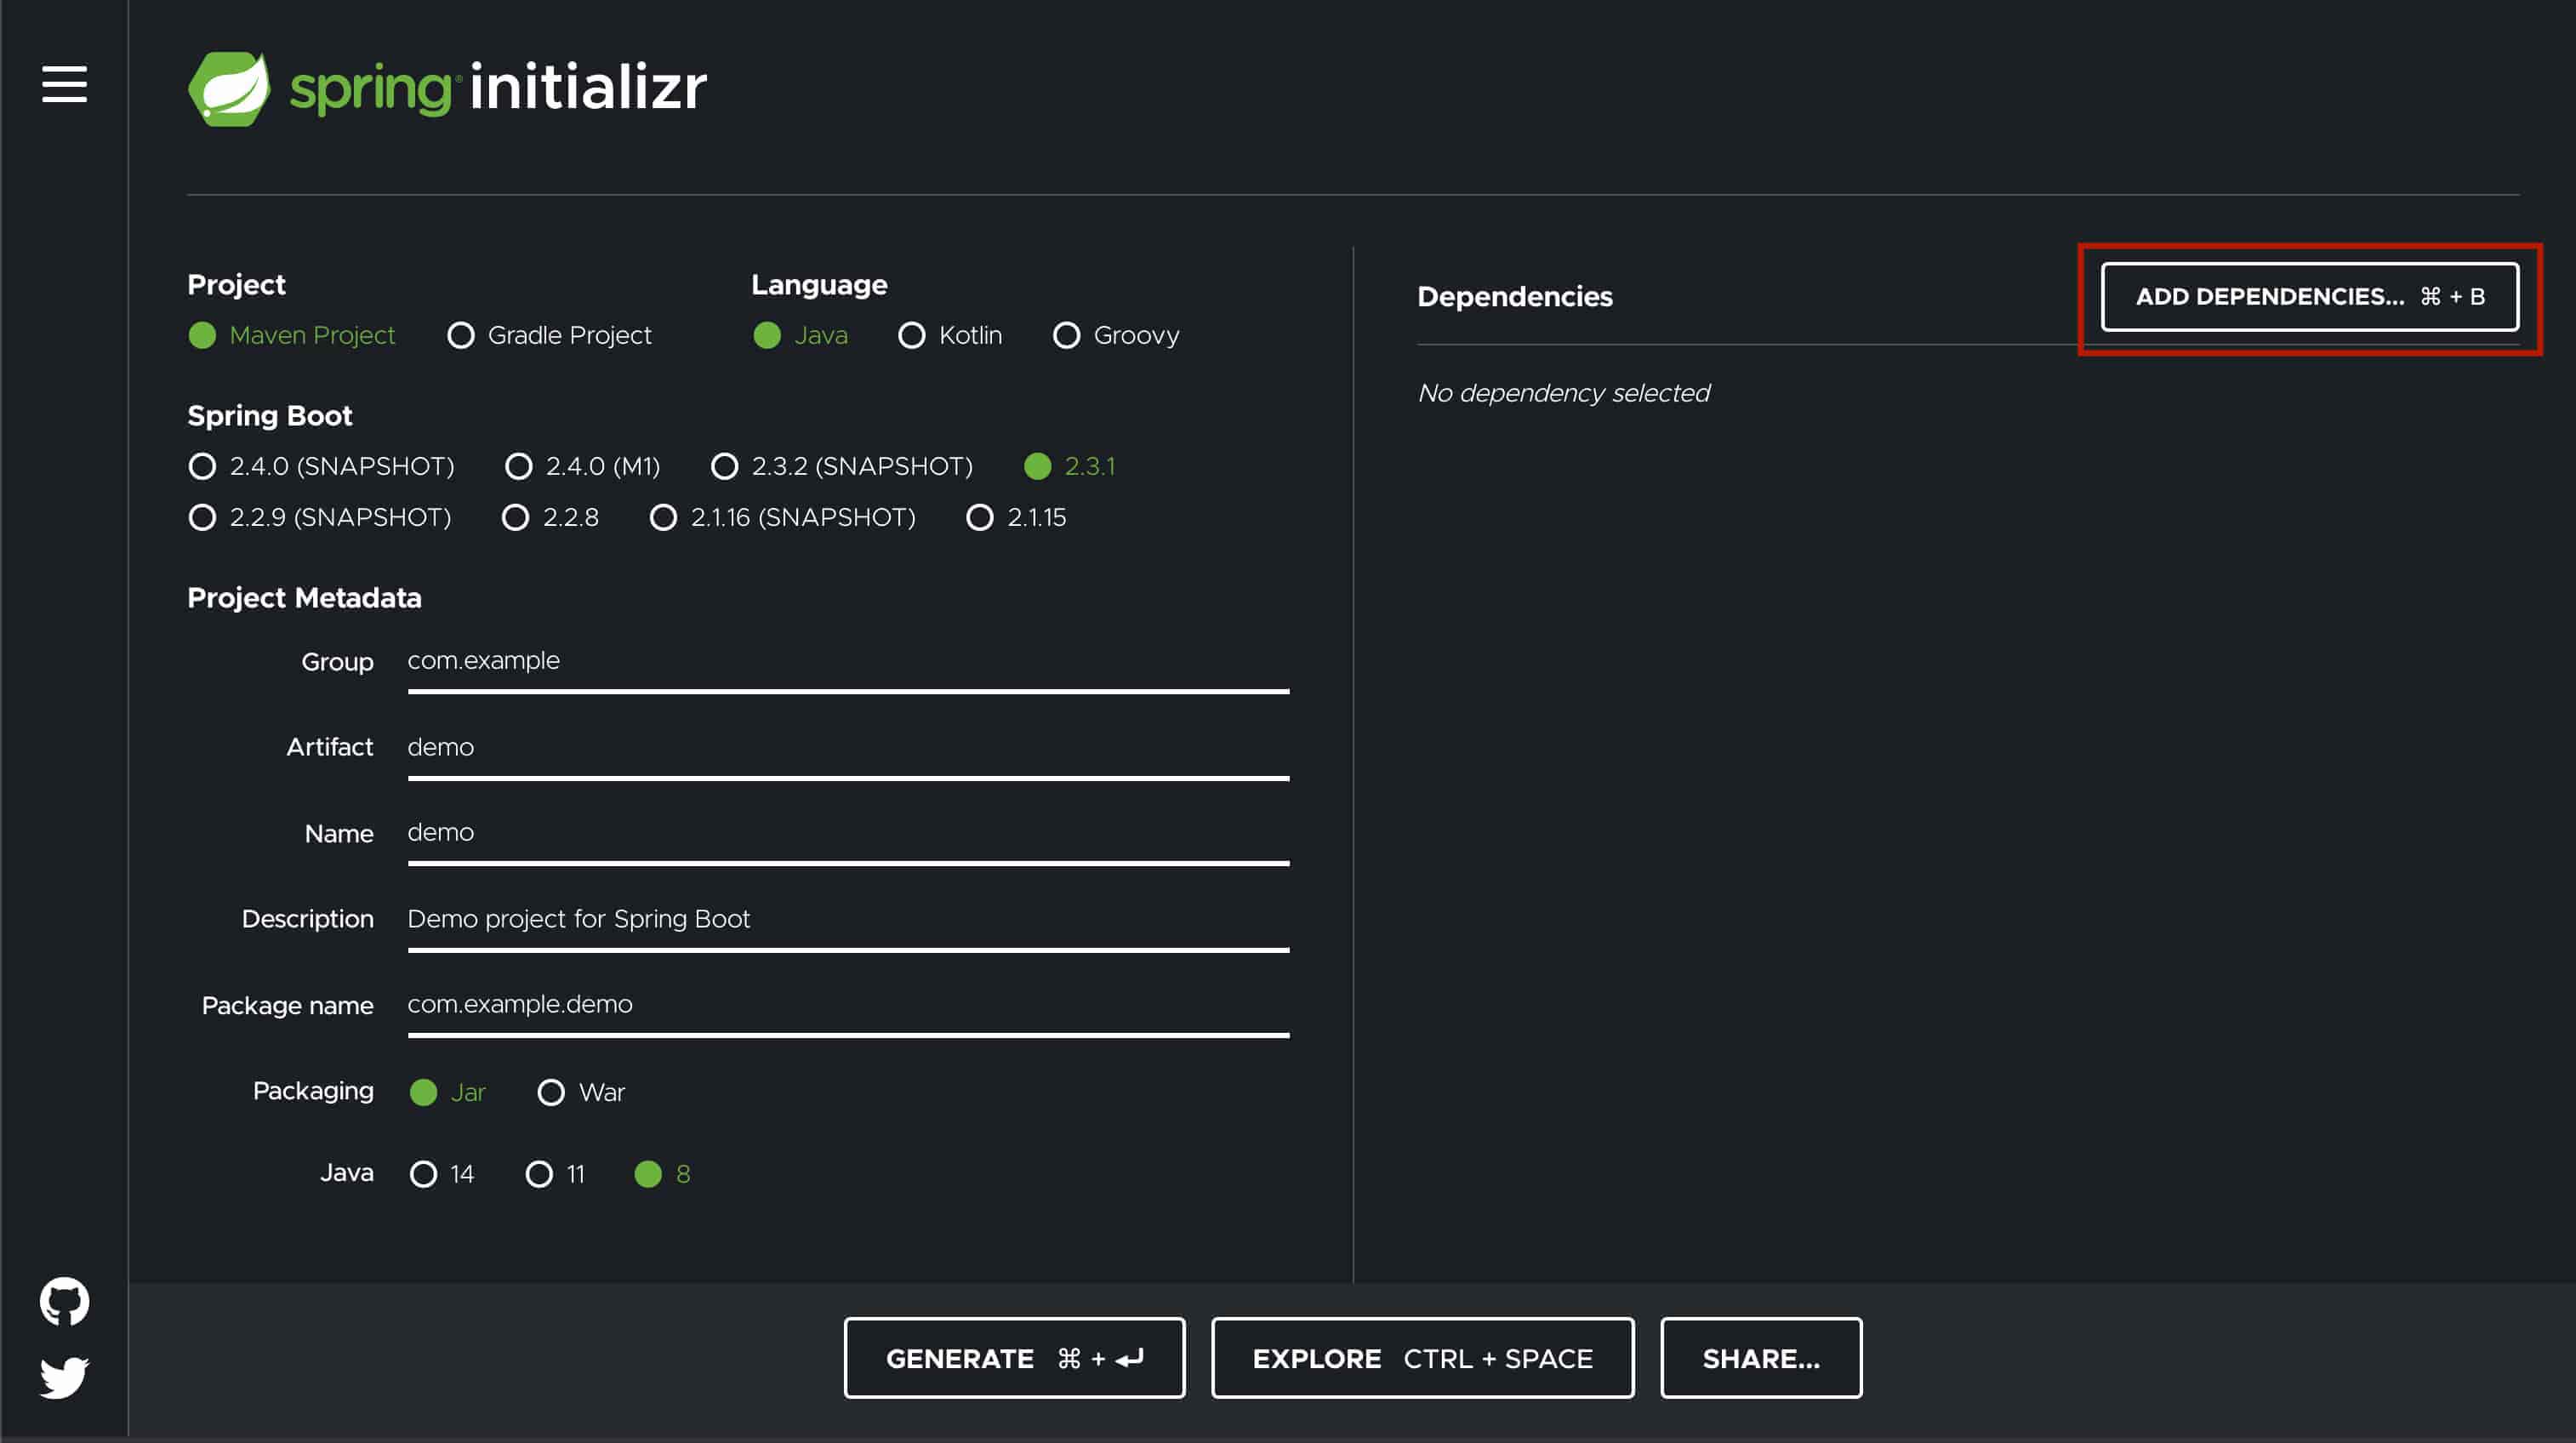
Add dependencies - Click on the Add dependencies button and a popup list of dependencies will appear.
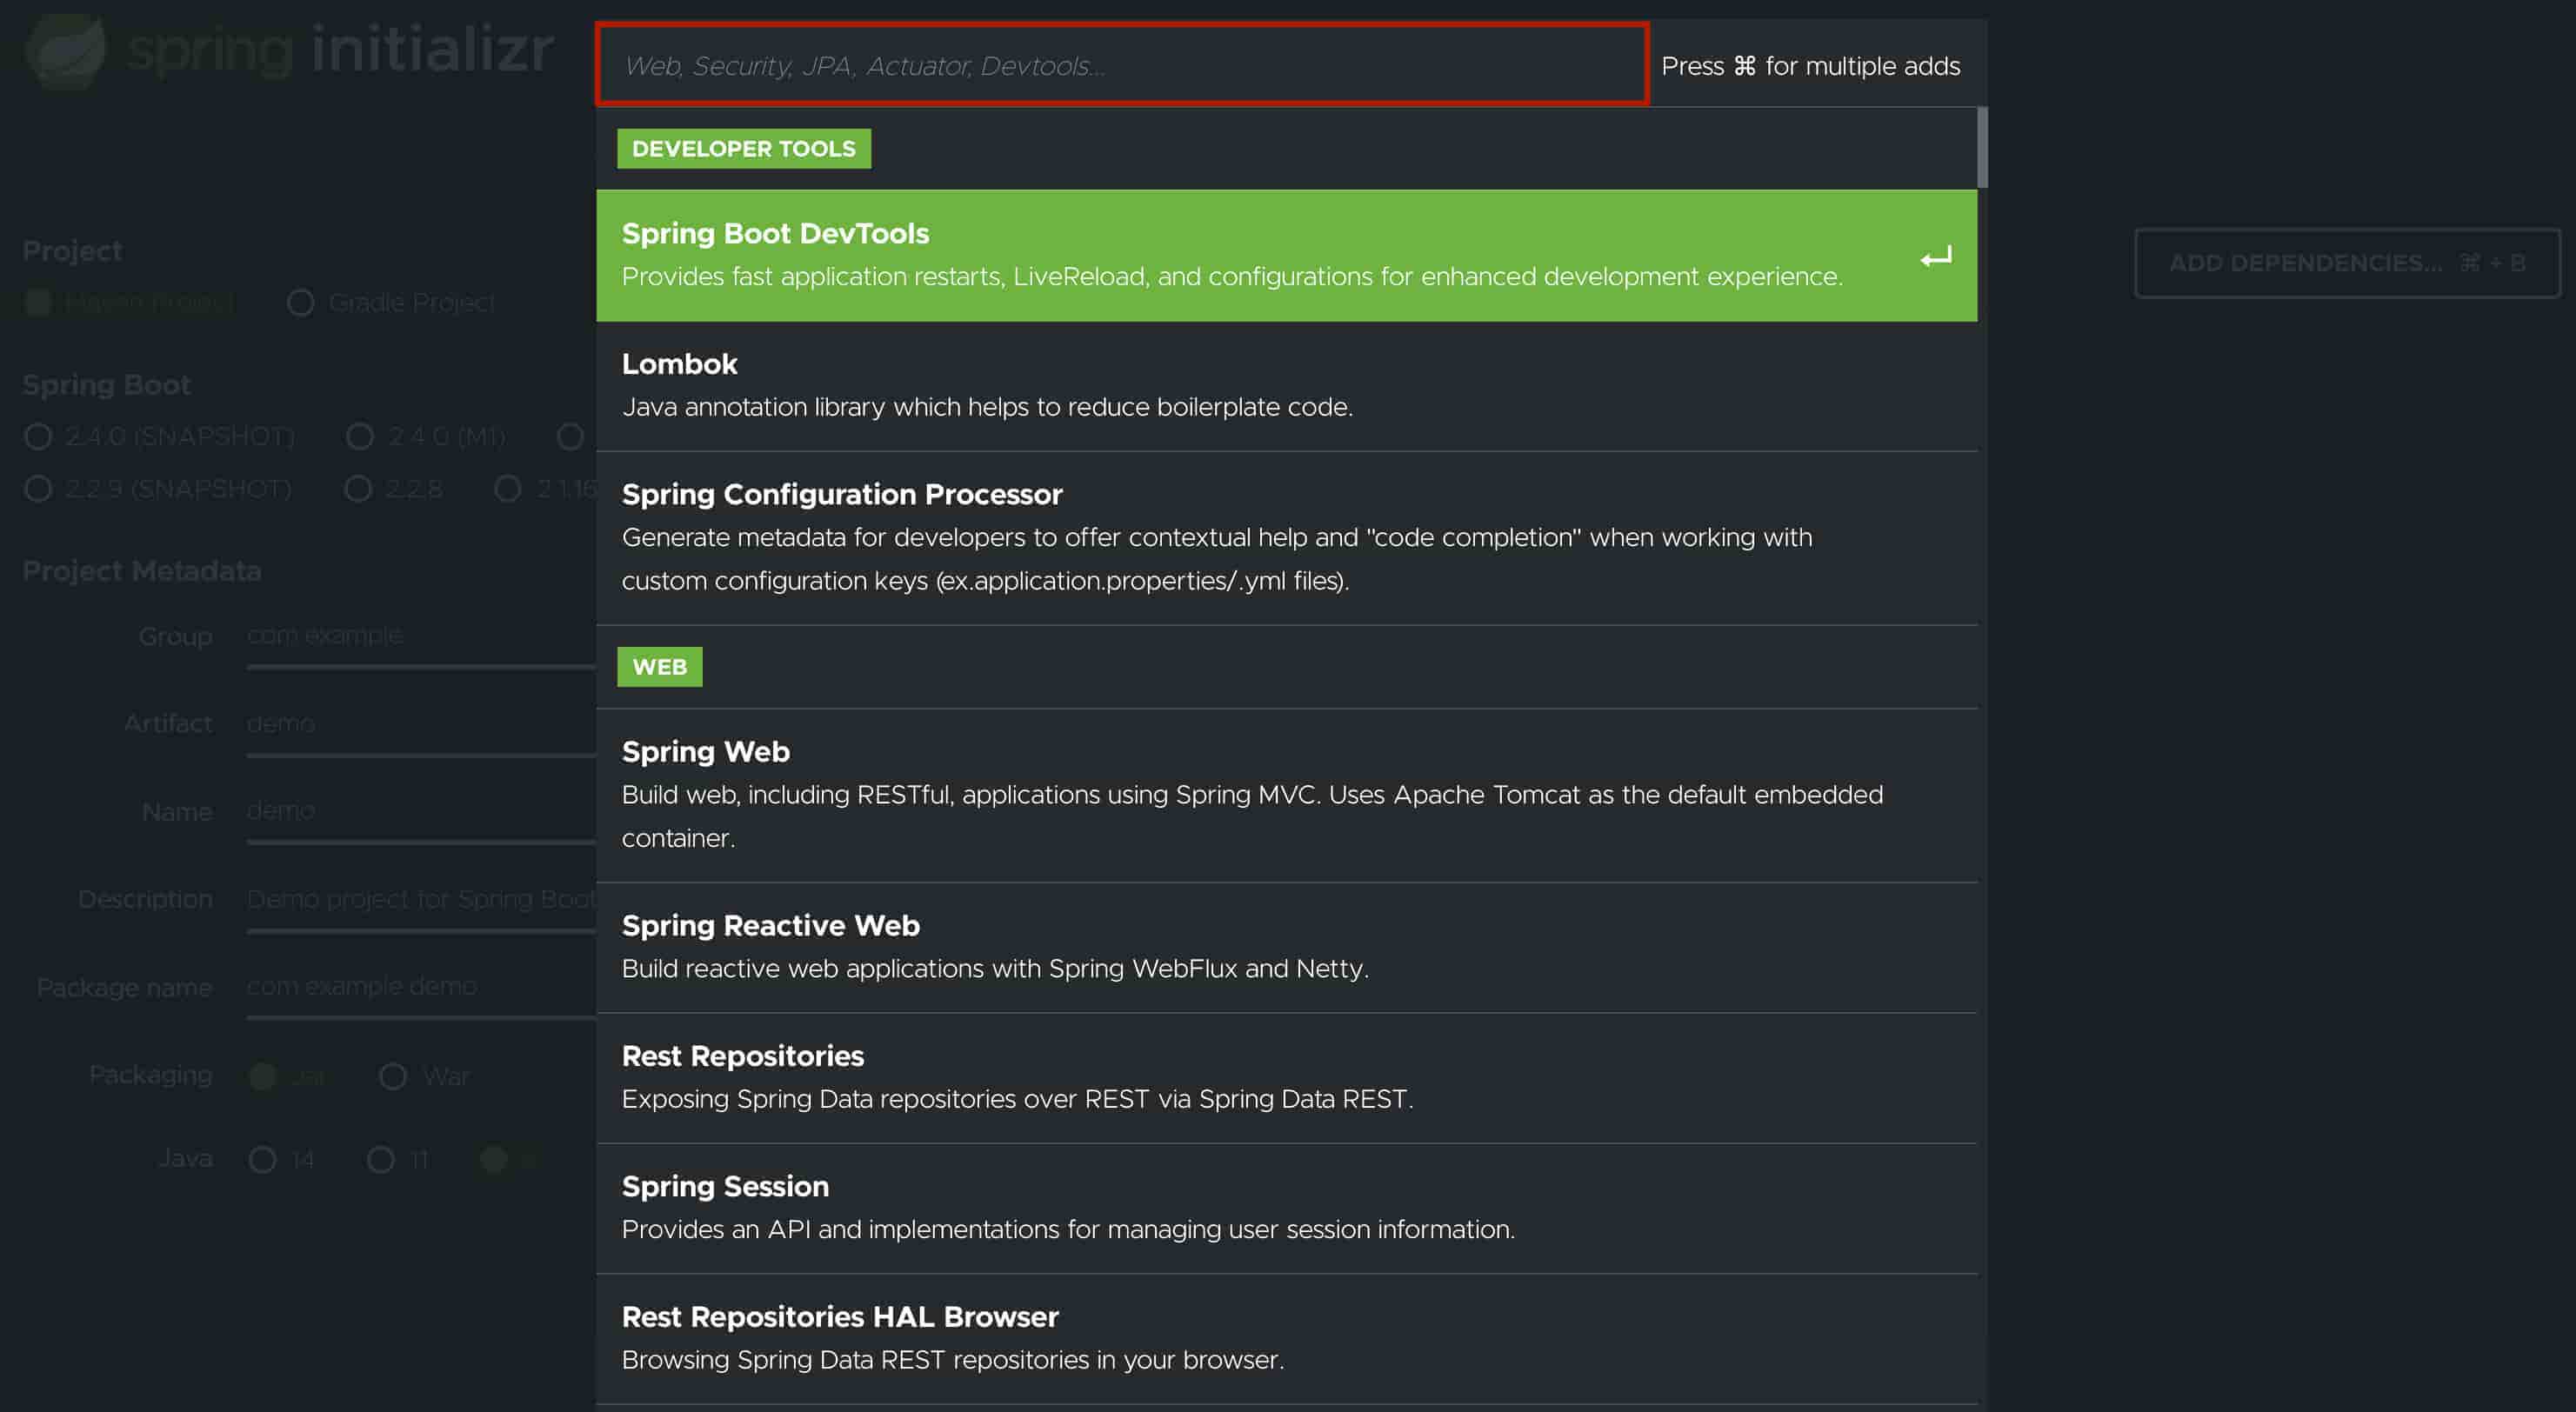
At the top you can search for dependencies you want.
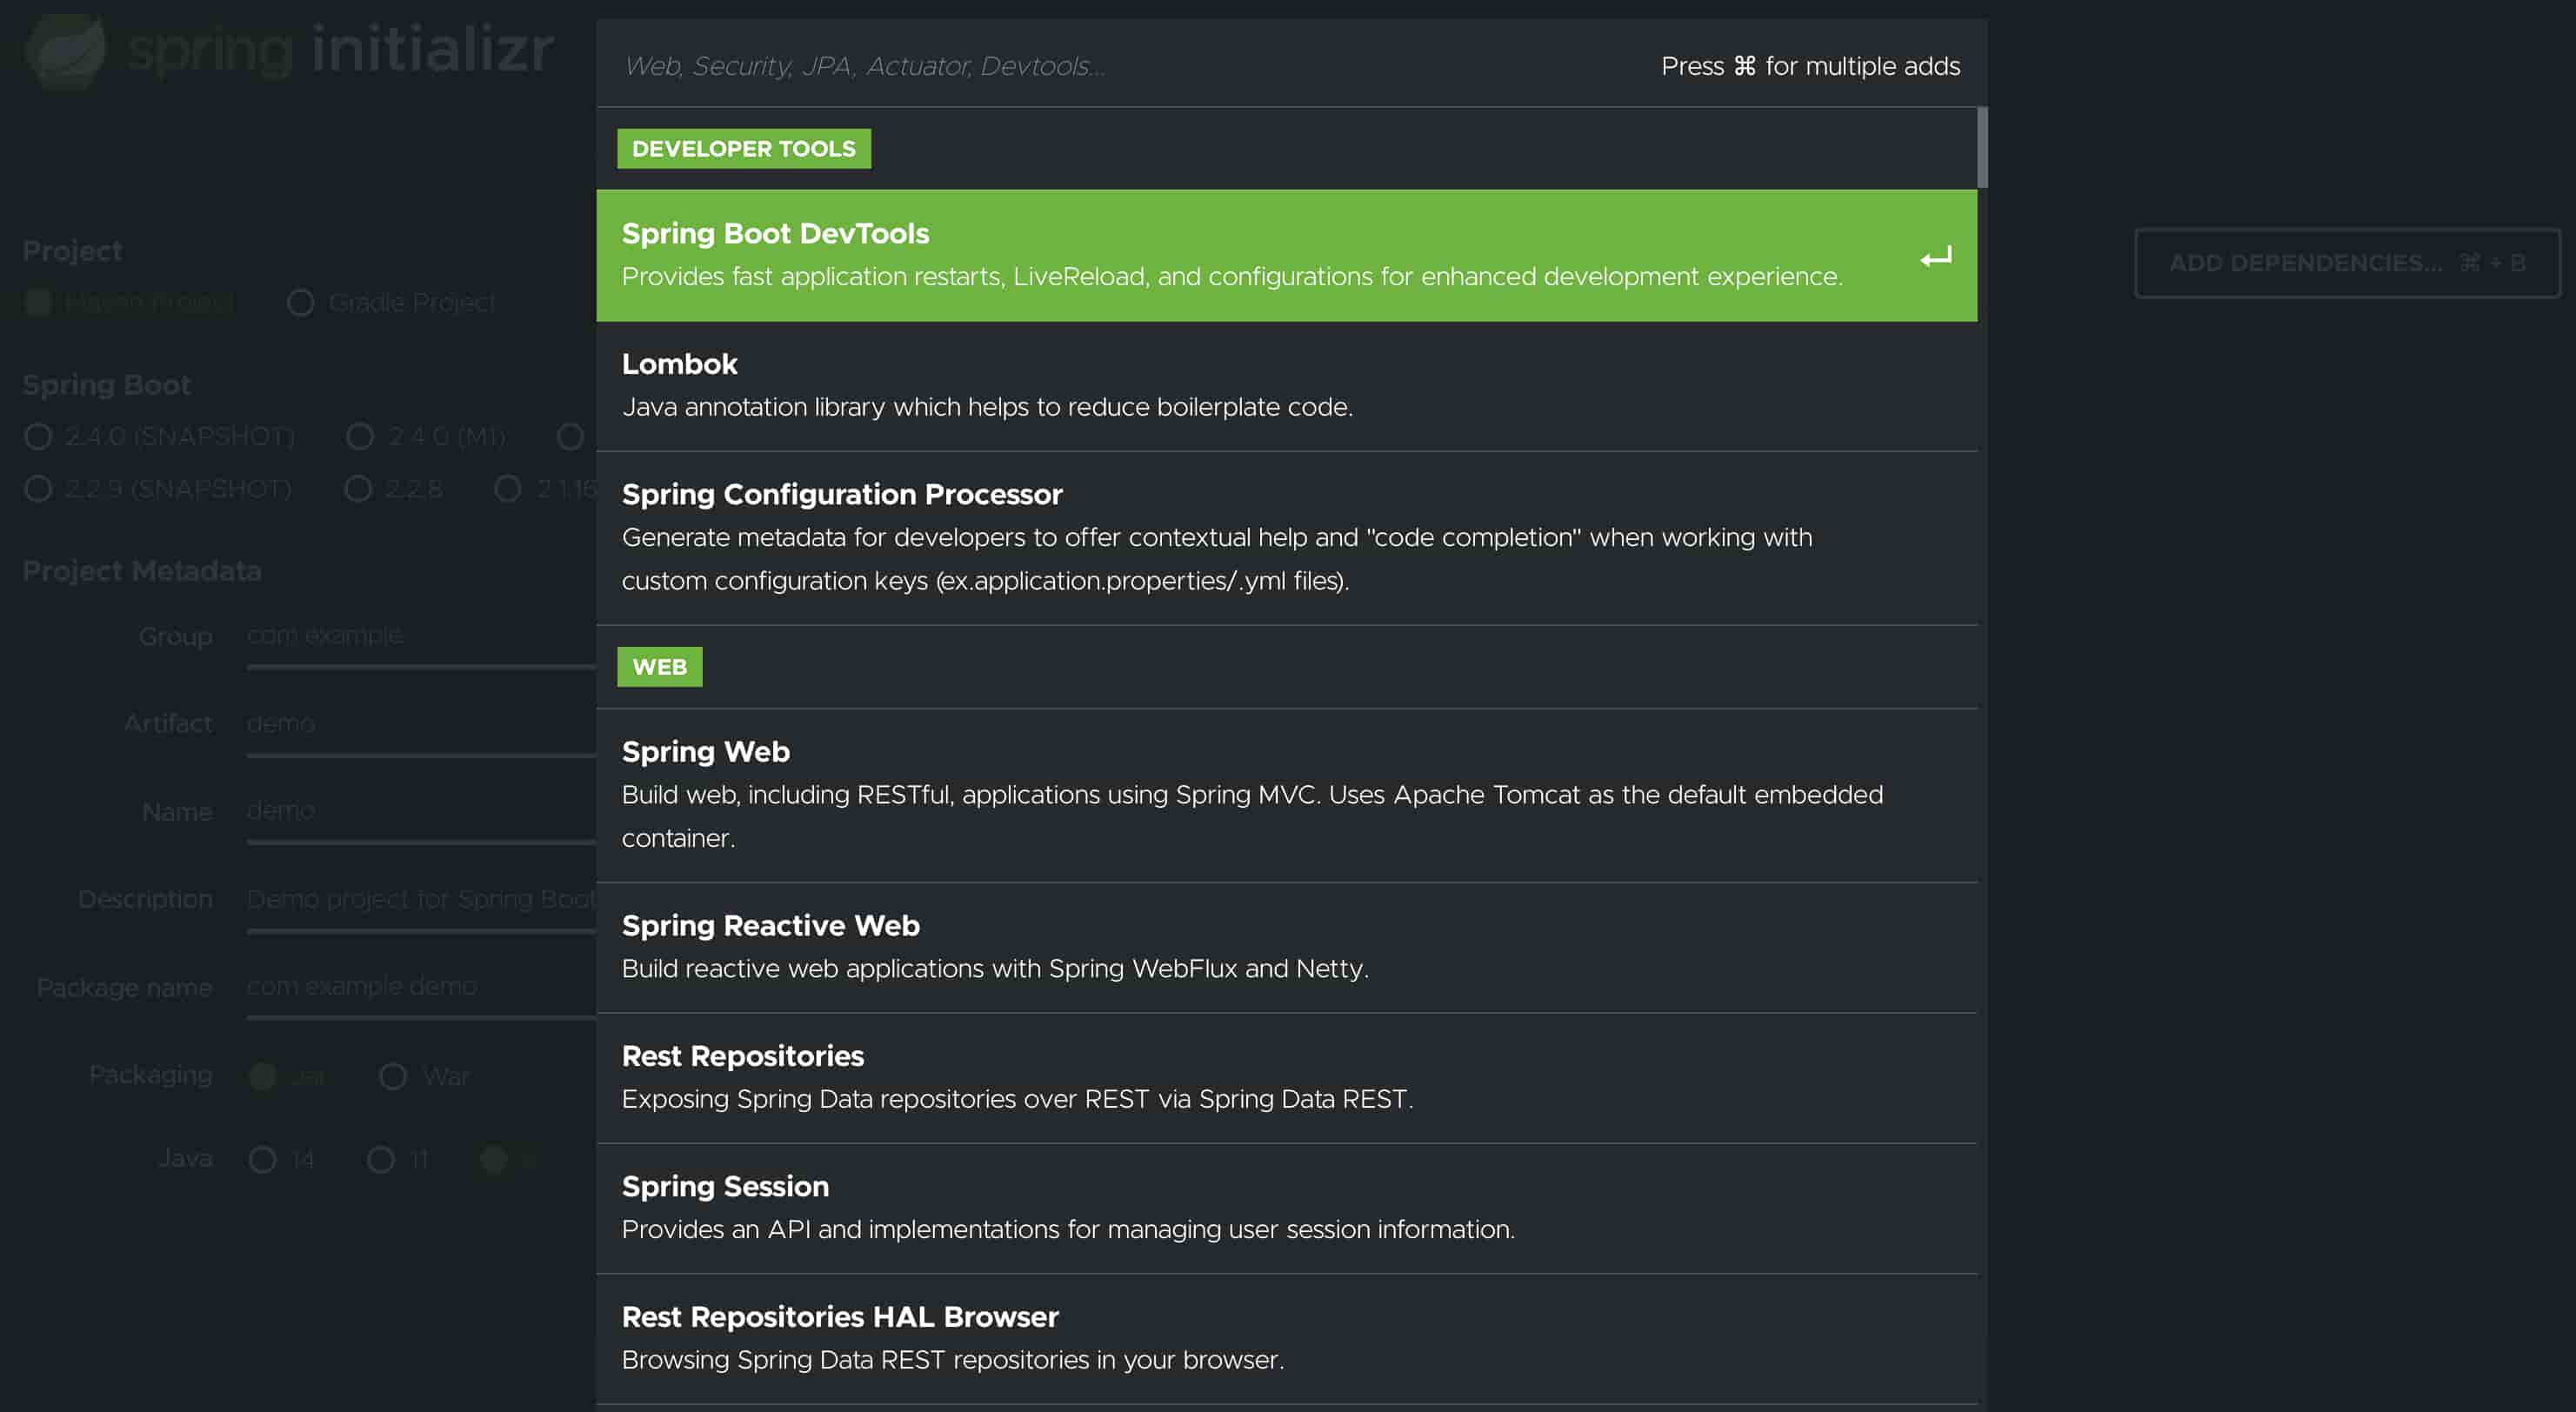
As you type in, a list of matching dependencies will appear down below.
For example, if I want to create a REST API, I would search for REST and the first dependency which appears is Spring Web. That’s exactly what I want.
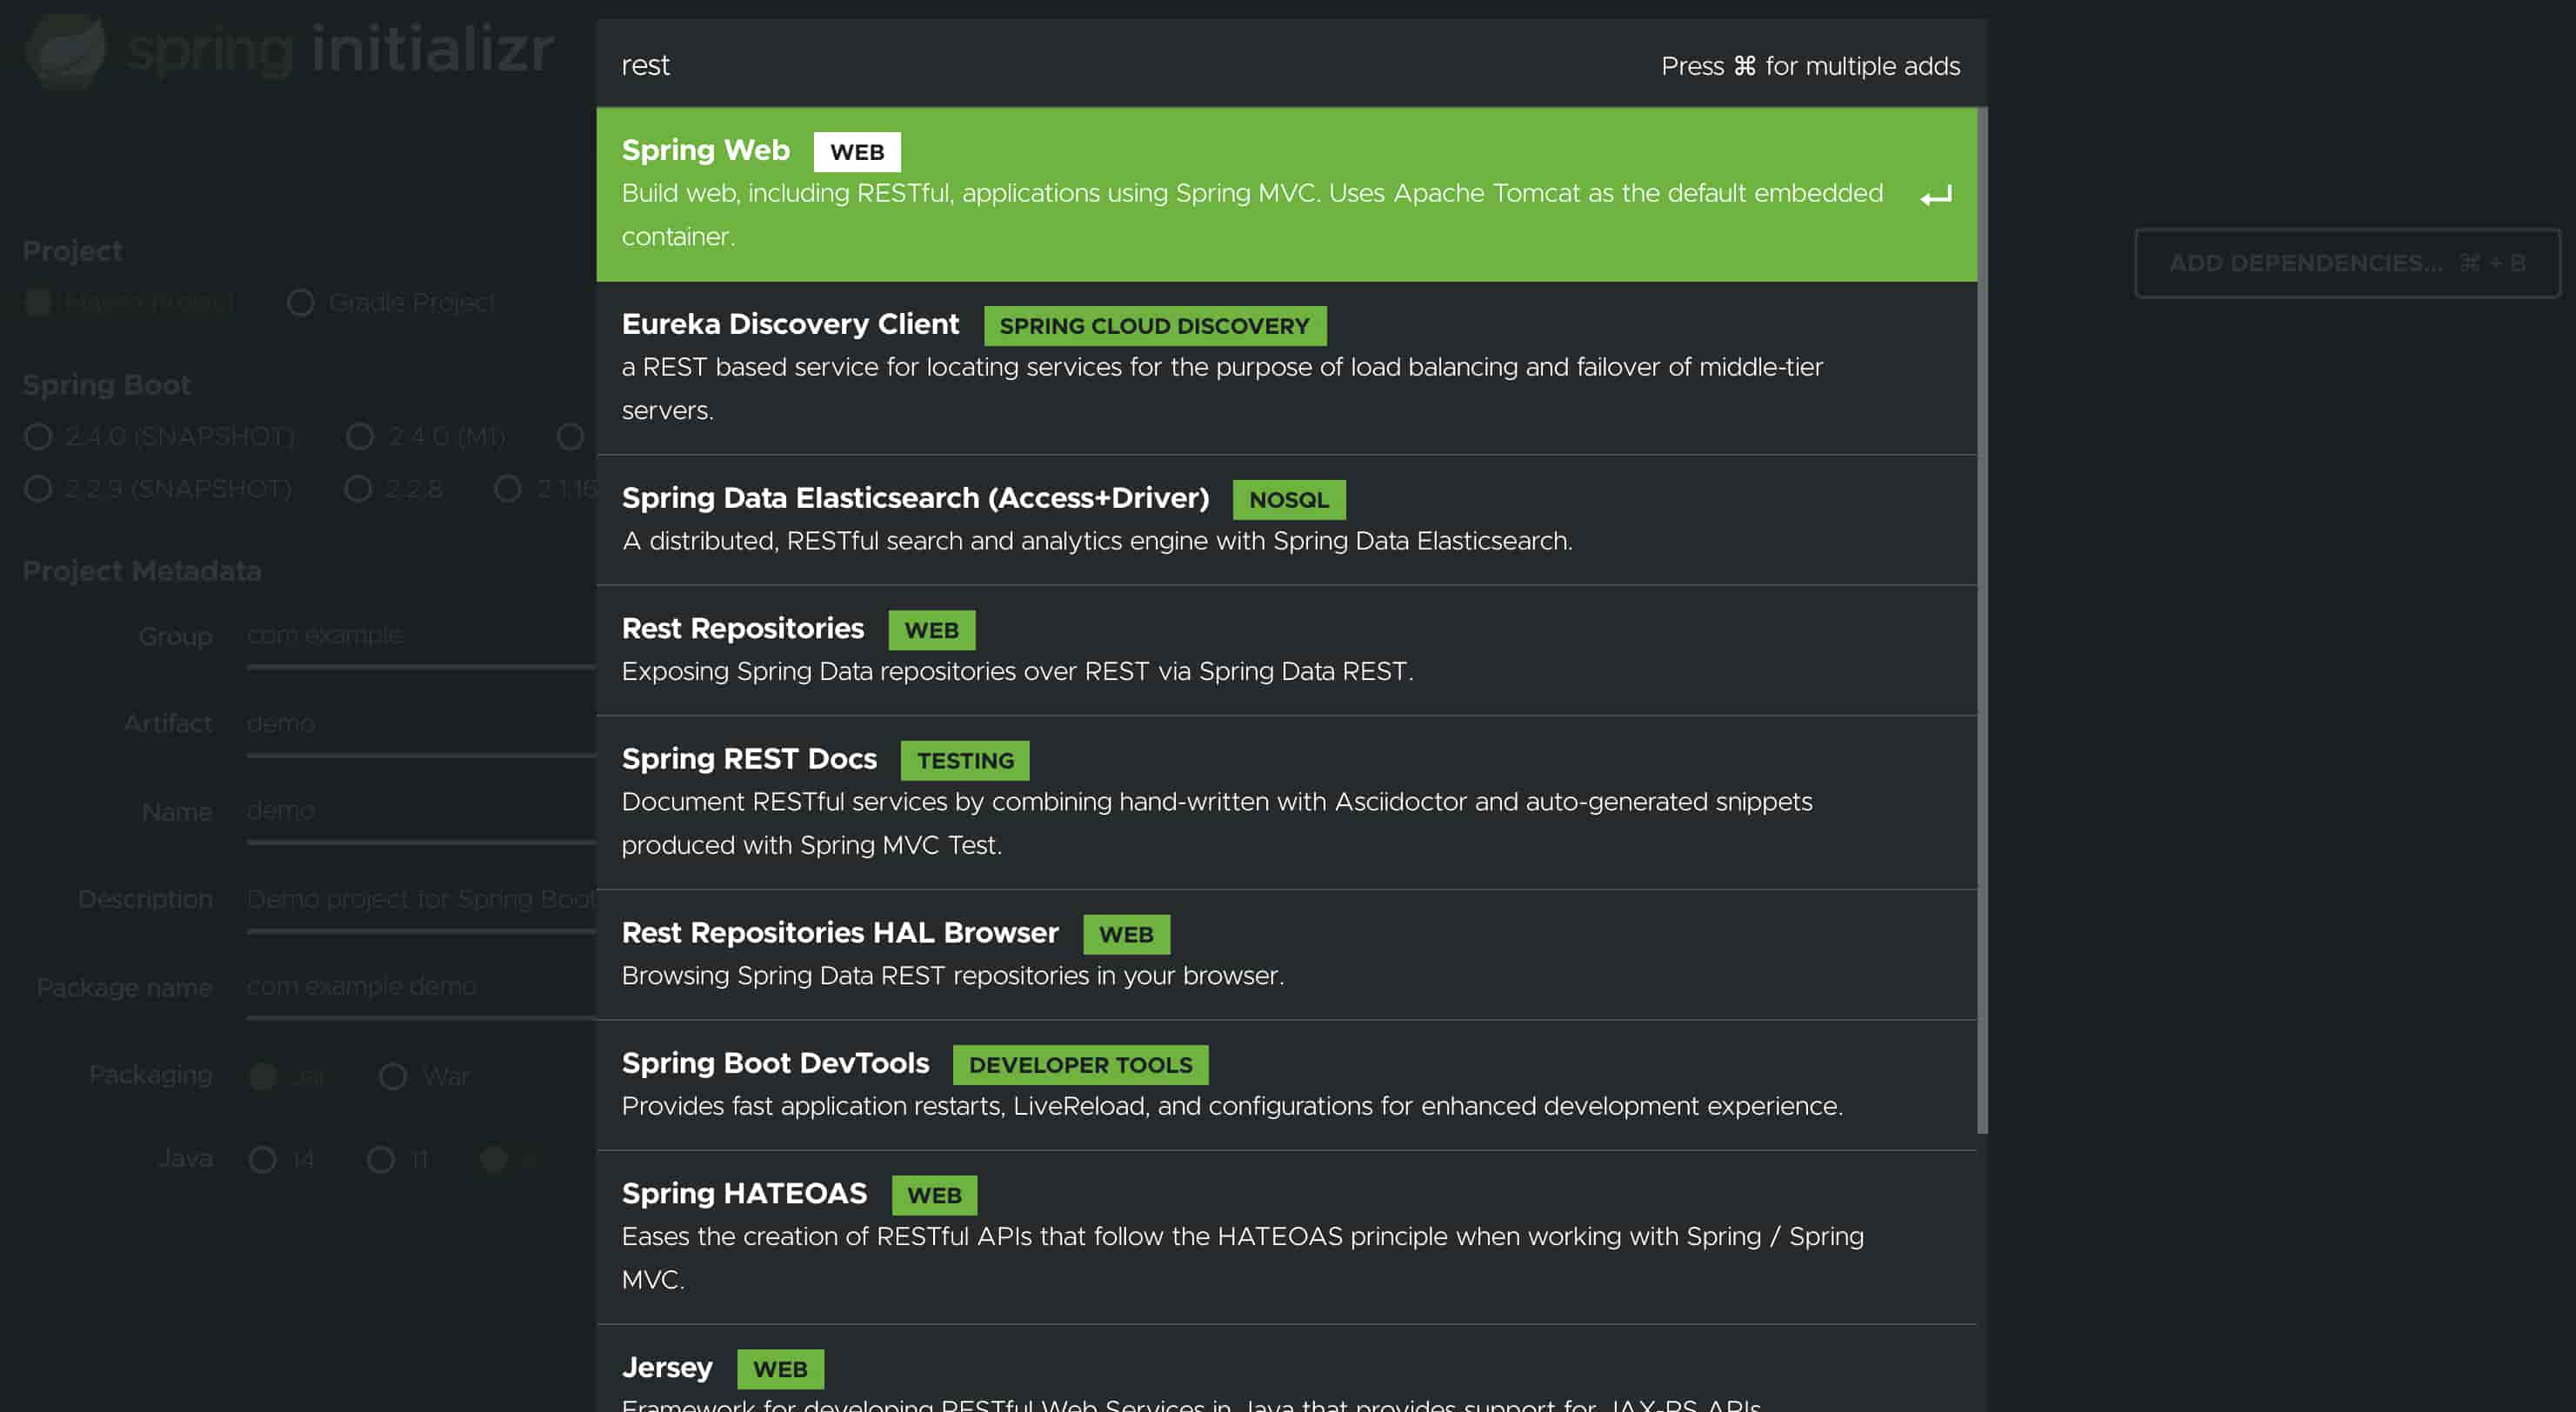
You can select the one you want and press enter or click on it to add it to the project.
-
Generate Project - Click on the Generate button to download the zip file.
Watch how it’s done
Check out the video.
Spring Initializr generated Gradle project
Here’s the downloaded project file: demo.zip
When you unzip, it contains the following.
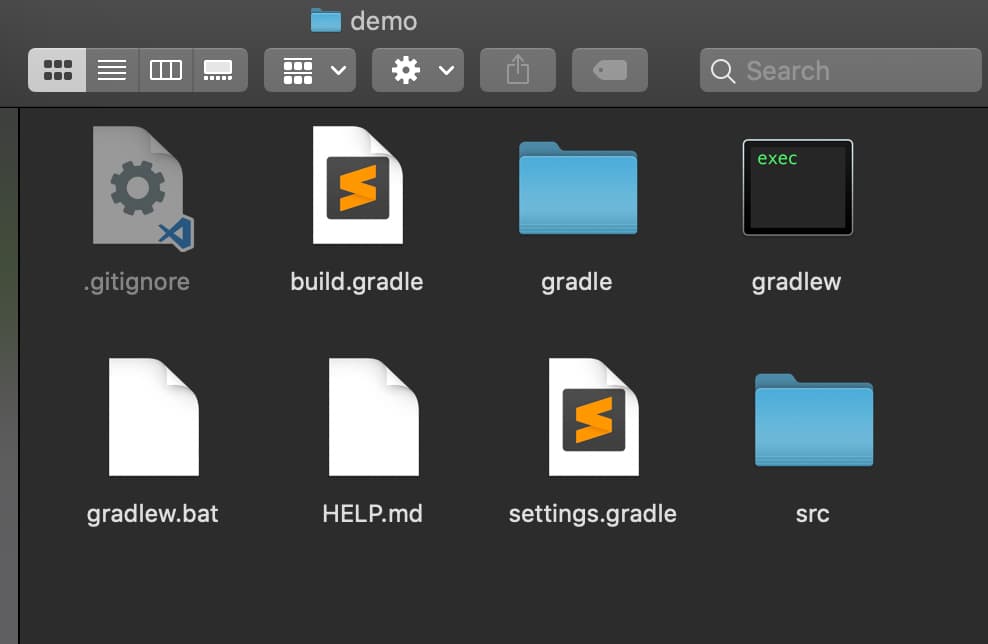
The build file generated by the Spring Initializr
build.gradle
    plugins {
      id 'org.springframework.boot' version '2.3.1.RELEASE'
      id 'io.spring.dependency-management' version '1.0.9.RELEASE'
      id 'java'
    }

    group = 'com.example'
    version = '0.0.1-SNAPSHOT'
    sourceCompatibility = '1.8'

    repositories {
      mavenCentral()
    }

    dependencies {
      implementation 'org.springframework.boot:spring-boot-starter-data-jpa'
      implementation 'org.springframework.boot:spring-boot-starter-web'
      runtimeOnly 'com.h2database:h2'
      testImplementation('org.springframework.boot:spring-boot-starter-test') {
        exclude group: 'org.junit.vintage', module: 'junit-vintage-engine'
      }
    }

    test {
      useJUnitPlatform()
    }
-
Here you can see that the starter dependencies that we selected are added to the build file along with the spring-boot-starter-test dependency.
-
Did you notice that there are no versions specified for any of the dependencies?

That’s because the versions are handled by the Spring Boot plugin
org.springframework.bootwhich is available as a gradle community plugin in the plugins portalWe don’t have to worry about versions and version compatibility of all the dependencies anymore!

-
There’s another plugin
io.spring.dependency-managementadded by Spring Initialzr. It provides Maven-like dependency management functionality within Gradle.You can find more on the plugin here.
How to import the Spring Initializr generated Gradle project to your IDE (Eclipse or IntelliJ)
How to import to Eclipse
-
Add the eclipse plugin to the build file.
id 'eclipse'Now the build file will look like:
plugins { id 'org.springframework.boot' version '2.3.1.RELEASE' id 'io.spring.dependency-management' version '1.0.9.RELEASE' id 'java' id 'eclipse' } group = 'com.example' version = '0.0.1-SNAPSHOT' sourceCompatibility = '1.8' repositories { mavenCentral() } dependencies { implementation 'org.springframework.boot:spring-boot-starter-data-jpa' implementation 'org.springframework.boot:spring-boot-starter-web' runtimeOnly 'com.h2database:h2' testImplementation('org.springframework.boot:spring-boot-starter-test') { exclude group: 'org.junit.vintage', module: 'junit-vintage-engine' } } test { useJUnitPlatform() } -
Generate the eclipse configuration file using the command line.
Go to your project directory in the command line and execute the following command.
./gradlew eclipseeclipse is a task of the eclipse plugin which generates all eclipse configuration files.
-
Now you can import the project to eclipse as an existing project.

How to import to IntelliJ
This is too easy, you just have to import the build.gradle file via IntelliJ.
Run Spring Initializr generated project as a Spring Boot Application
So, now you can verify the project set up by running it.
There’s a sample application class added by the Spring Initializr, so we can just run it so that it can be started as a Spring Boot application.
There is also a sample test which we can run as well.
How to run the Spring Boot application using Gradle in the command line
To run the application, simply go to your project directory in the command line and execute the following command.
`./gradlew bootRun`
bootRun is a Gradle task available via the Spring Boot plugin.

The application has started without any problem.
How to run tests of the Spring Boot application using Gradle in the command line
So if you execute the ./gradlew test command, you will be able to run the sample test.

Now that you have a working project setup, you can get on with testing and implementation of your application. ![]()
Want To Get Started With Spring Boot?
Check out the FREE course.
